We may earn a commission from links on this page.
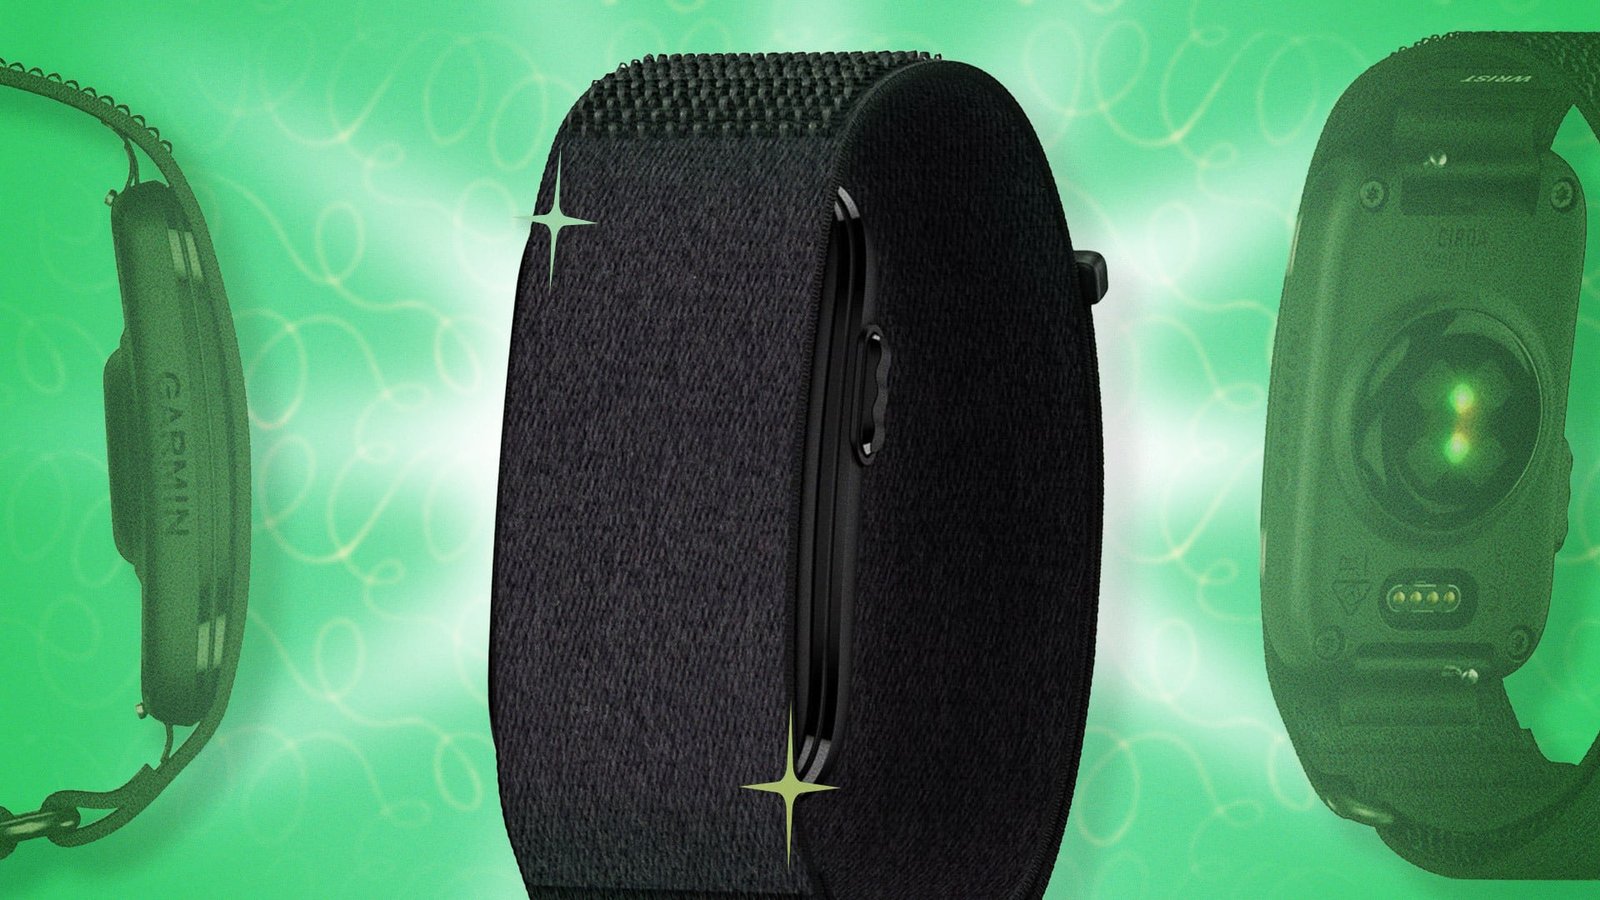
For Garmin fans who want 24/7 data, but don’t want to wear their heavy-duty sports watch 24/7, the Garmin Cirqa ($199) is an exciting new alternative to Whoop, Fitbit Air, and other screenless smart bands. This is the company’s first screen-free smart band, built to track fitness and wellness features around the clock, without needing a subscription.
Because the Cirqa has no screen, you might default to only do what Garmin’s automatic detection decides for it. But when it comes to making the most of the Cirqa from the moment you unbox, there are clever hacks worth knowing. Here are five tips of my favorites—some official, and some discovered by reviewers and the community in these early weeks since the device’s launch.

Use the Cirqa as a standalone heart rate strap for other equipment
This is one of the more underrated features on paper. In Garmin Connect, go to Garmin Devices > Health & Wellness > Broadcast Heart Rate, and turn on Device Control. Once that’s enabled, you can hold the side button on the Cirqa itself for three seconds until the LED flashes yellow, and it’ll start broadcasting your heart rate without needing to touch the app again.
The Cirqa can broadcast over ANT+ to essentially unlimited receiving devices at once, and simultaneously over Bluetooth Smart to up to three separate connections, which means you could realistically stream your live heart rate to a cycling computer, a gym treadmill display, and an app like Zwift all at the same time. For anyone who already owns a Cirqa and was about to buy a separate chest strap for gym equipment or a smart trainer setup, this alone can save the extra purchase.
You can turn the Cirqa into a wrist-buzz clock
The Cirqa has no display, so there’s no obvious way to “check the time” on it. But if you like the feel of a ticking analog reminder, you can get close. In the Garmin Connect app, go to your device, then Notifications & Alerts, and look at the alert options tied to activity and movement. Turning on Move Alert (Garmin’s inactivity reminder) gives you a light buzz once an hour during your active hours, functioning like an unofficial hourly chime (even though it’s technically triggered by extended sitting rather than the clock itself). It won’t be perfectly precise to the top of the hour every time, but in daily use it lands close enough, especially if you’re someone who deliberately avoids glancing at a phone all day.
Set Cirqa alarms to nudge you toward better habits, not just wake you up
The same Notifications & Alerts menu is where the real wellness tracking happens. You can enable alerts for stress spikes, sleep score readiness, goal completion, and general movement, effectively turning the Cirqa into a mini coach for hydration breaks, stretch breaks, or a moment of mindfulness—all depending on how you choose to interpret the buzz.
For actual wake-ups, go to Alarms > Add Alarm in the app, set your time, and toggle on Smart Wake Alarm if you want it to try waking you during a lighter sleep stage within the 30 minutes before your set time, or Quiet Start if you’d rather it ramp up gradually instead of buzzing at full strength immediately. Worth knowing upfront: In my testing (and I’m not alone here), the Smart Wake Alarm has a reputation for being less “smart” than advertised. While I’ve never personally experienced it going off outside its intended window, all the “smart” alarm has ever done for me is worked like a plain fixed alarm regardless of your alleged sleep stage.
Check battery life without touching your phone
Since there’s no screen, most people assume the only way to check the battery is to open Garmin Connect. There’s actually a faster method built into the hardware itself, as long as you go in and set it up.
In the Garmin Connect app, go to your device settings and open Power Manager, then turn on the Battery Status option. Once that’s enabled, double-tapping the physical sensor module triggers a single confirmation buzz, followed by the LED flashing a color that corresponds to your remaining charge:
-
Solid green = Full charge
-
Flashing green = Charging in process
-
Solid orange = Low battery
-
Solid red = Critically low battery
Combined with the favorite activity and hold-for-broadcast button shortcuts, this reinforces the sense that the Cirqa’s single button and LED light help set this smart band apart.
And on the activity side, remember to use the side button as your manual override for anything the automatic detection struggles with—which is a lot so far. And since the Cirqa has no built-in GPS chip, any distance, pace, or route data during an activity comes from your paired phone running the Garmin Connect app, so keep your phone nearby if you want a real map of your run or ride, not just heart rate and duration.
Skip the $59.99 official Cirqa armband with a cheap DIY workaround
Garmin sells an upper-arm band separately for $59.99, so if you’d rather track from your bicep than your wrist, that’s an option worth exploring—especially if you do activities where a wrist-worn band gets in the way. Plus, upper arm placement might improve your heart rate accuracy overall, since it gives the sensor better contact with a meatier part of the body with less wrist-movement noise.
If you want the upper-arm placement, but don’t want to pay for Garmin’s official accessory band, it might look like you have no options. The Cirqa pod uses narrow, non-standard 14mm spring pins, so it seems like it won’t just clip into generic 20mm bands off the shelf.
A few users have shared this type of hack, and I think this video from @ChaseTheSummit explains it best. The workaround is to buy a small 14mm-to-20mm metal adapter (originally made for Casio G-Shock watches), available for $14.99 on Amazon. That adapter bridges the Cirqa’s small pod to the much wider world of inexpensive, stretchy 20mm bicep bands. It’s not going to match the fit or finish of Garmin’s own accessory, but it’s a clever money-saving option.
If you do try this DIY option, make sure you don’t just yank the stock fabric band off the pod: Use a small pin pusher tool to compress the internal spring pins inward first, then remove it. Forcing it off without releasing the pins is a good way to damage the housing.
This articles is written by : Nermeen Nabil Khear Abdelmalak
All rights reserved to : USAGOLDMIES . www.usagoldmines.com
You can Enjoy surfing our website categories and read more content in many fields you may like .
Why USAGoldMines ?
USAGoldMines is a comprehensive website offering the latest in financial, crypto, and technical news. With specialized sections for each category, it provides readers with up-to-date market insights, investment trends, and technological advancements, making it a valuable resource for investors and enthusiasts in the fast-paced financial world.