
As internet threats have evolved, Windows has consistently provided tools to help users stay safe online. One of the earliest examples is the Windows firewall (formally known today as the Microsoft Defender Firewall), which has been around for decades, and it provides essential protection against potentially dangerous network traffic.
Most of the time, you shouldn’t have to think about how to use the Windows firewall, but if you do need to change some settings, we’re here to help.
Related
10 Windows 11 security settings to keep your PC safe
Protect your PC by enabling these 10 essential Windows 11 security settings
What is the Windows firewall, and should you use it?
A firewall is a security layer that monitors network requests and controls what requests are allowed or blocked on the device. It’s possible for a firewall to be a hardware device, but most of the time, it’s a software solution, such as the case of the Windows Firewall.
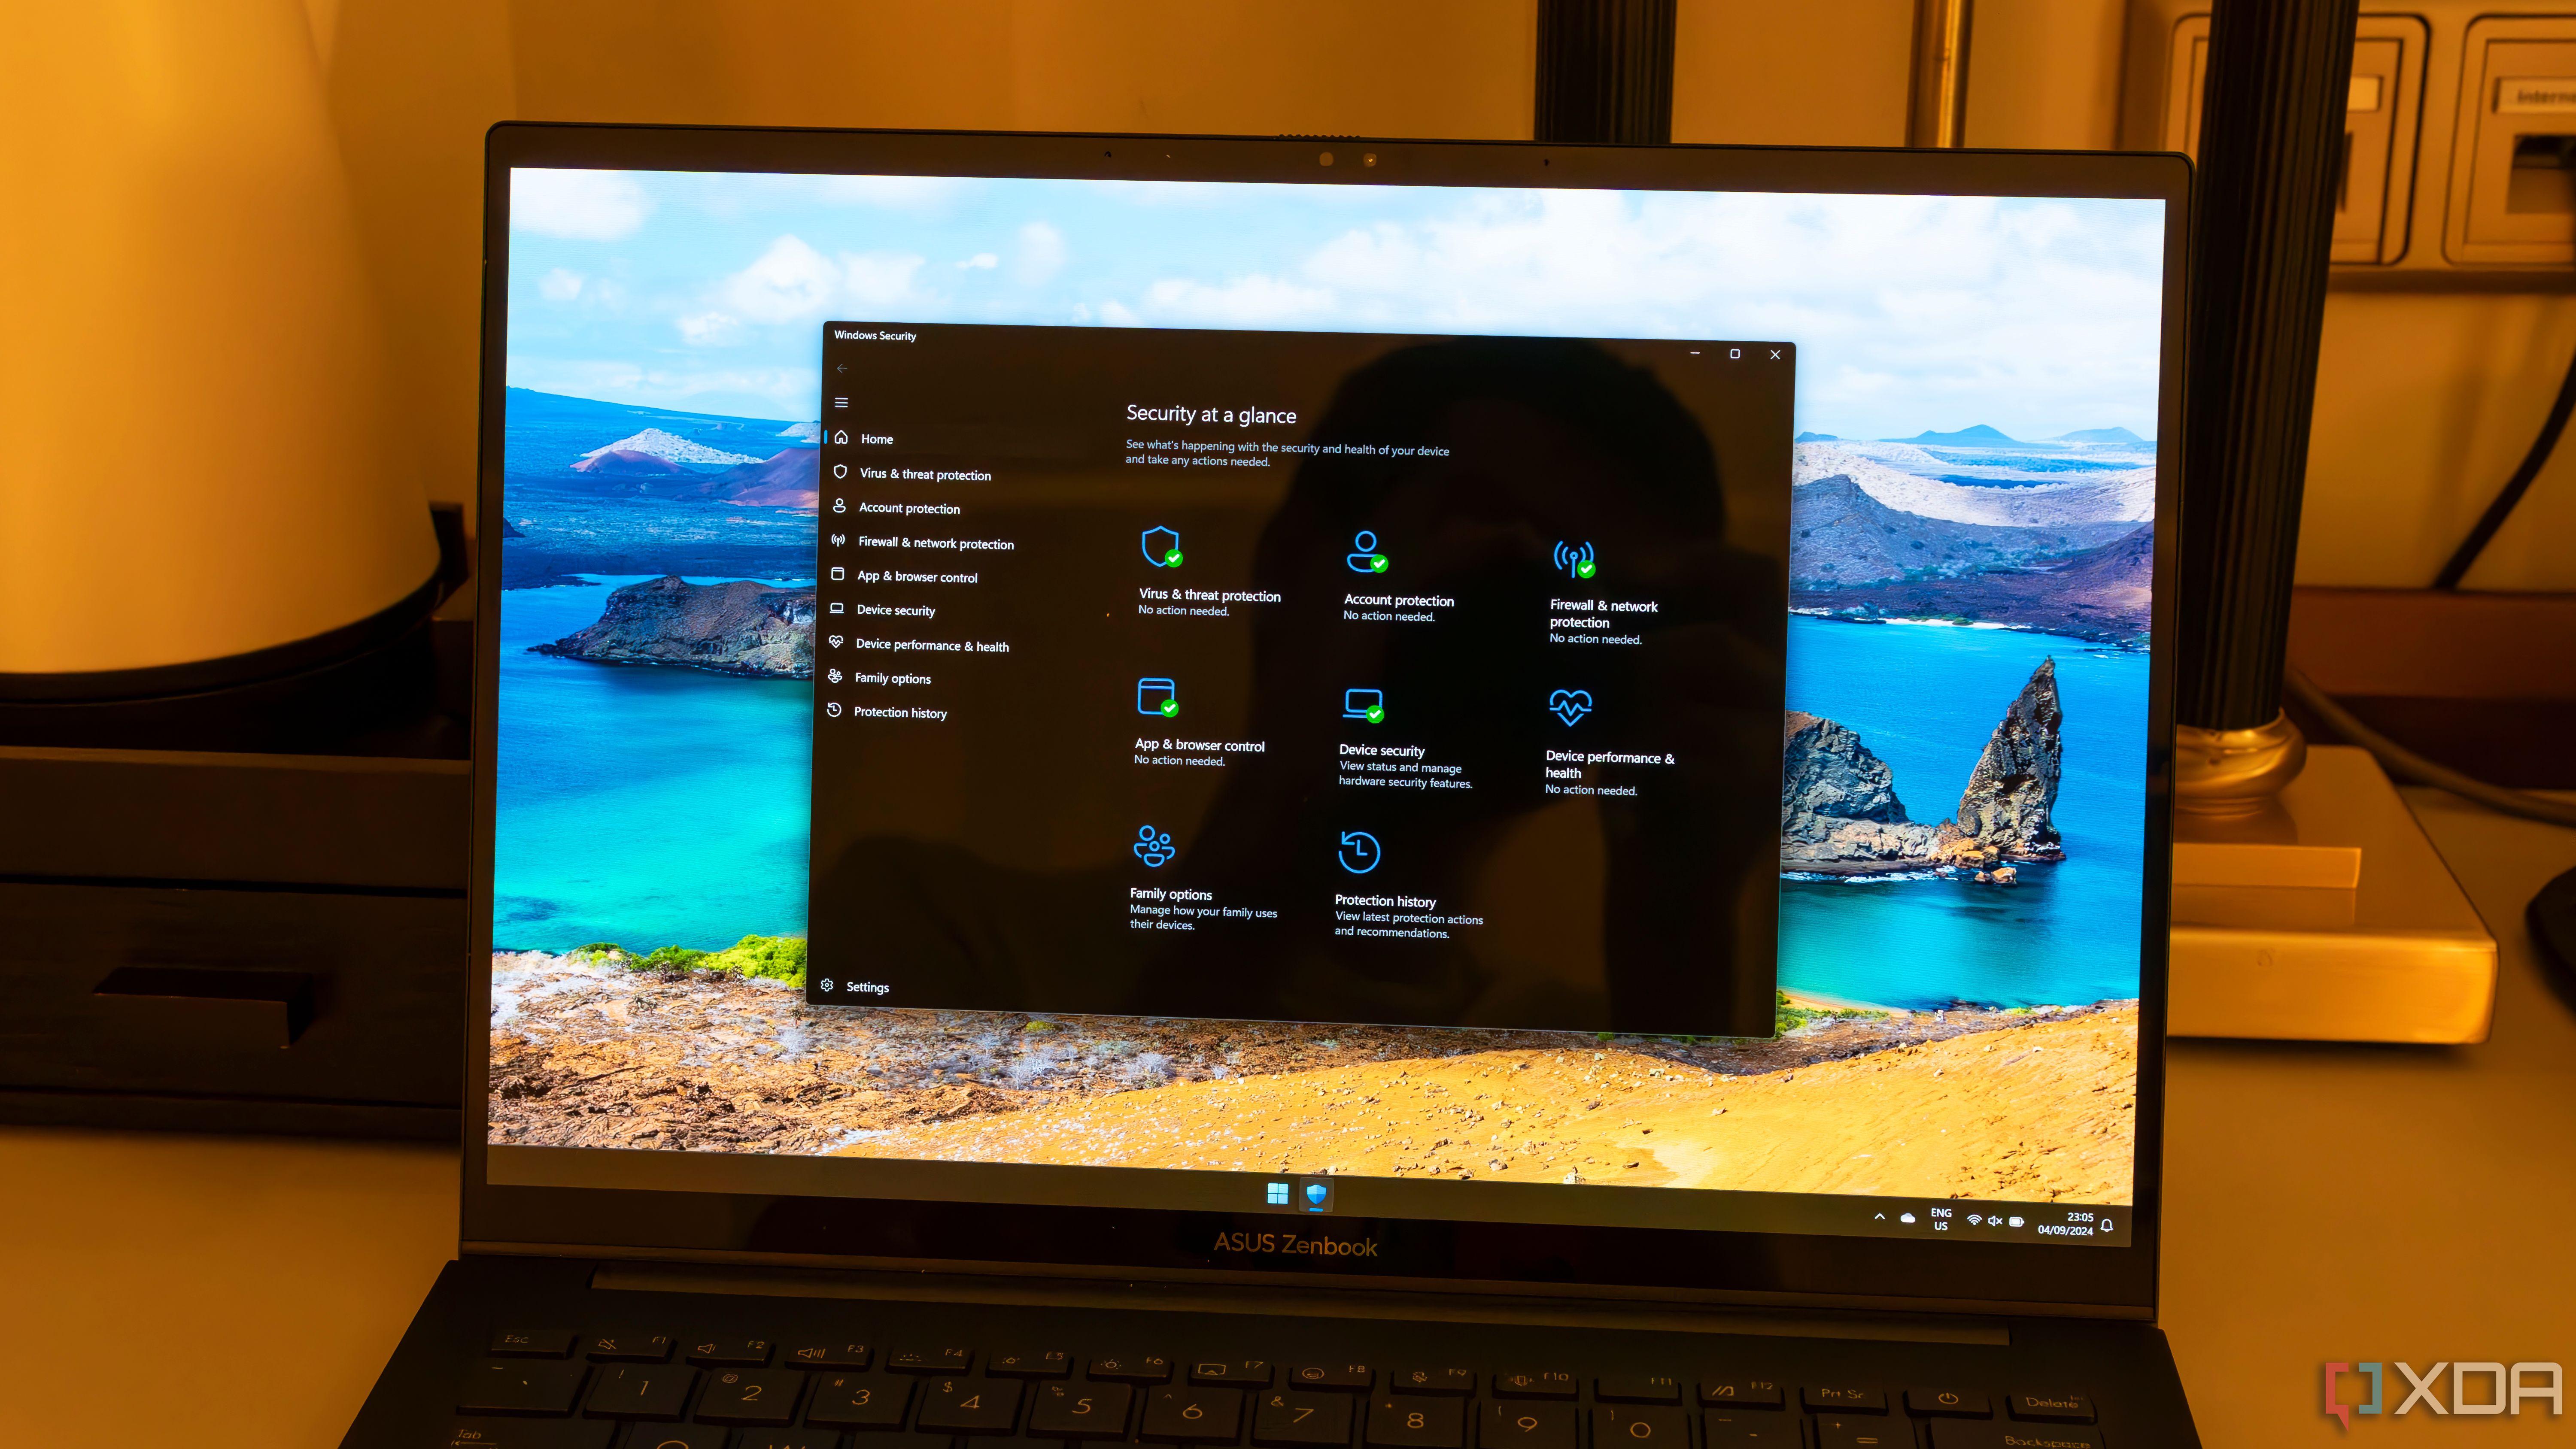
The Windows firewall is responsible for managing which apps on your PC are allowed to communicate with other computers using network connections, and it’s been included in Windows since Windows XP Service Pack 2. On Windows 11, it’s included in the Windows Security app, alongside numerous other protections, and it’s enabled by default.
Generally speaking, there should be no reason to change the default Windows Firewall settings, but you can if you want to, so let’s take a closer look.
How to or disable the Windows firewall
As we just mentioned, the Windows firewall is enabled by default on every Windows 11 PC, and it’s enabled for every network type. You can check the Windows firewall settings using the following steps:
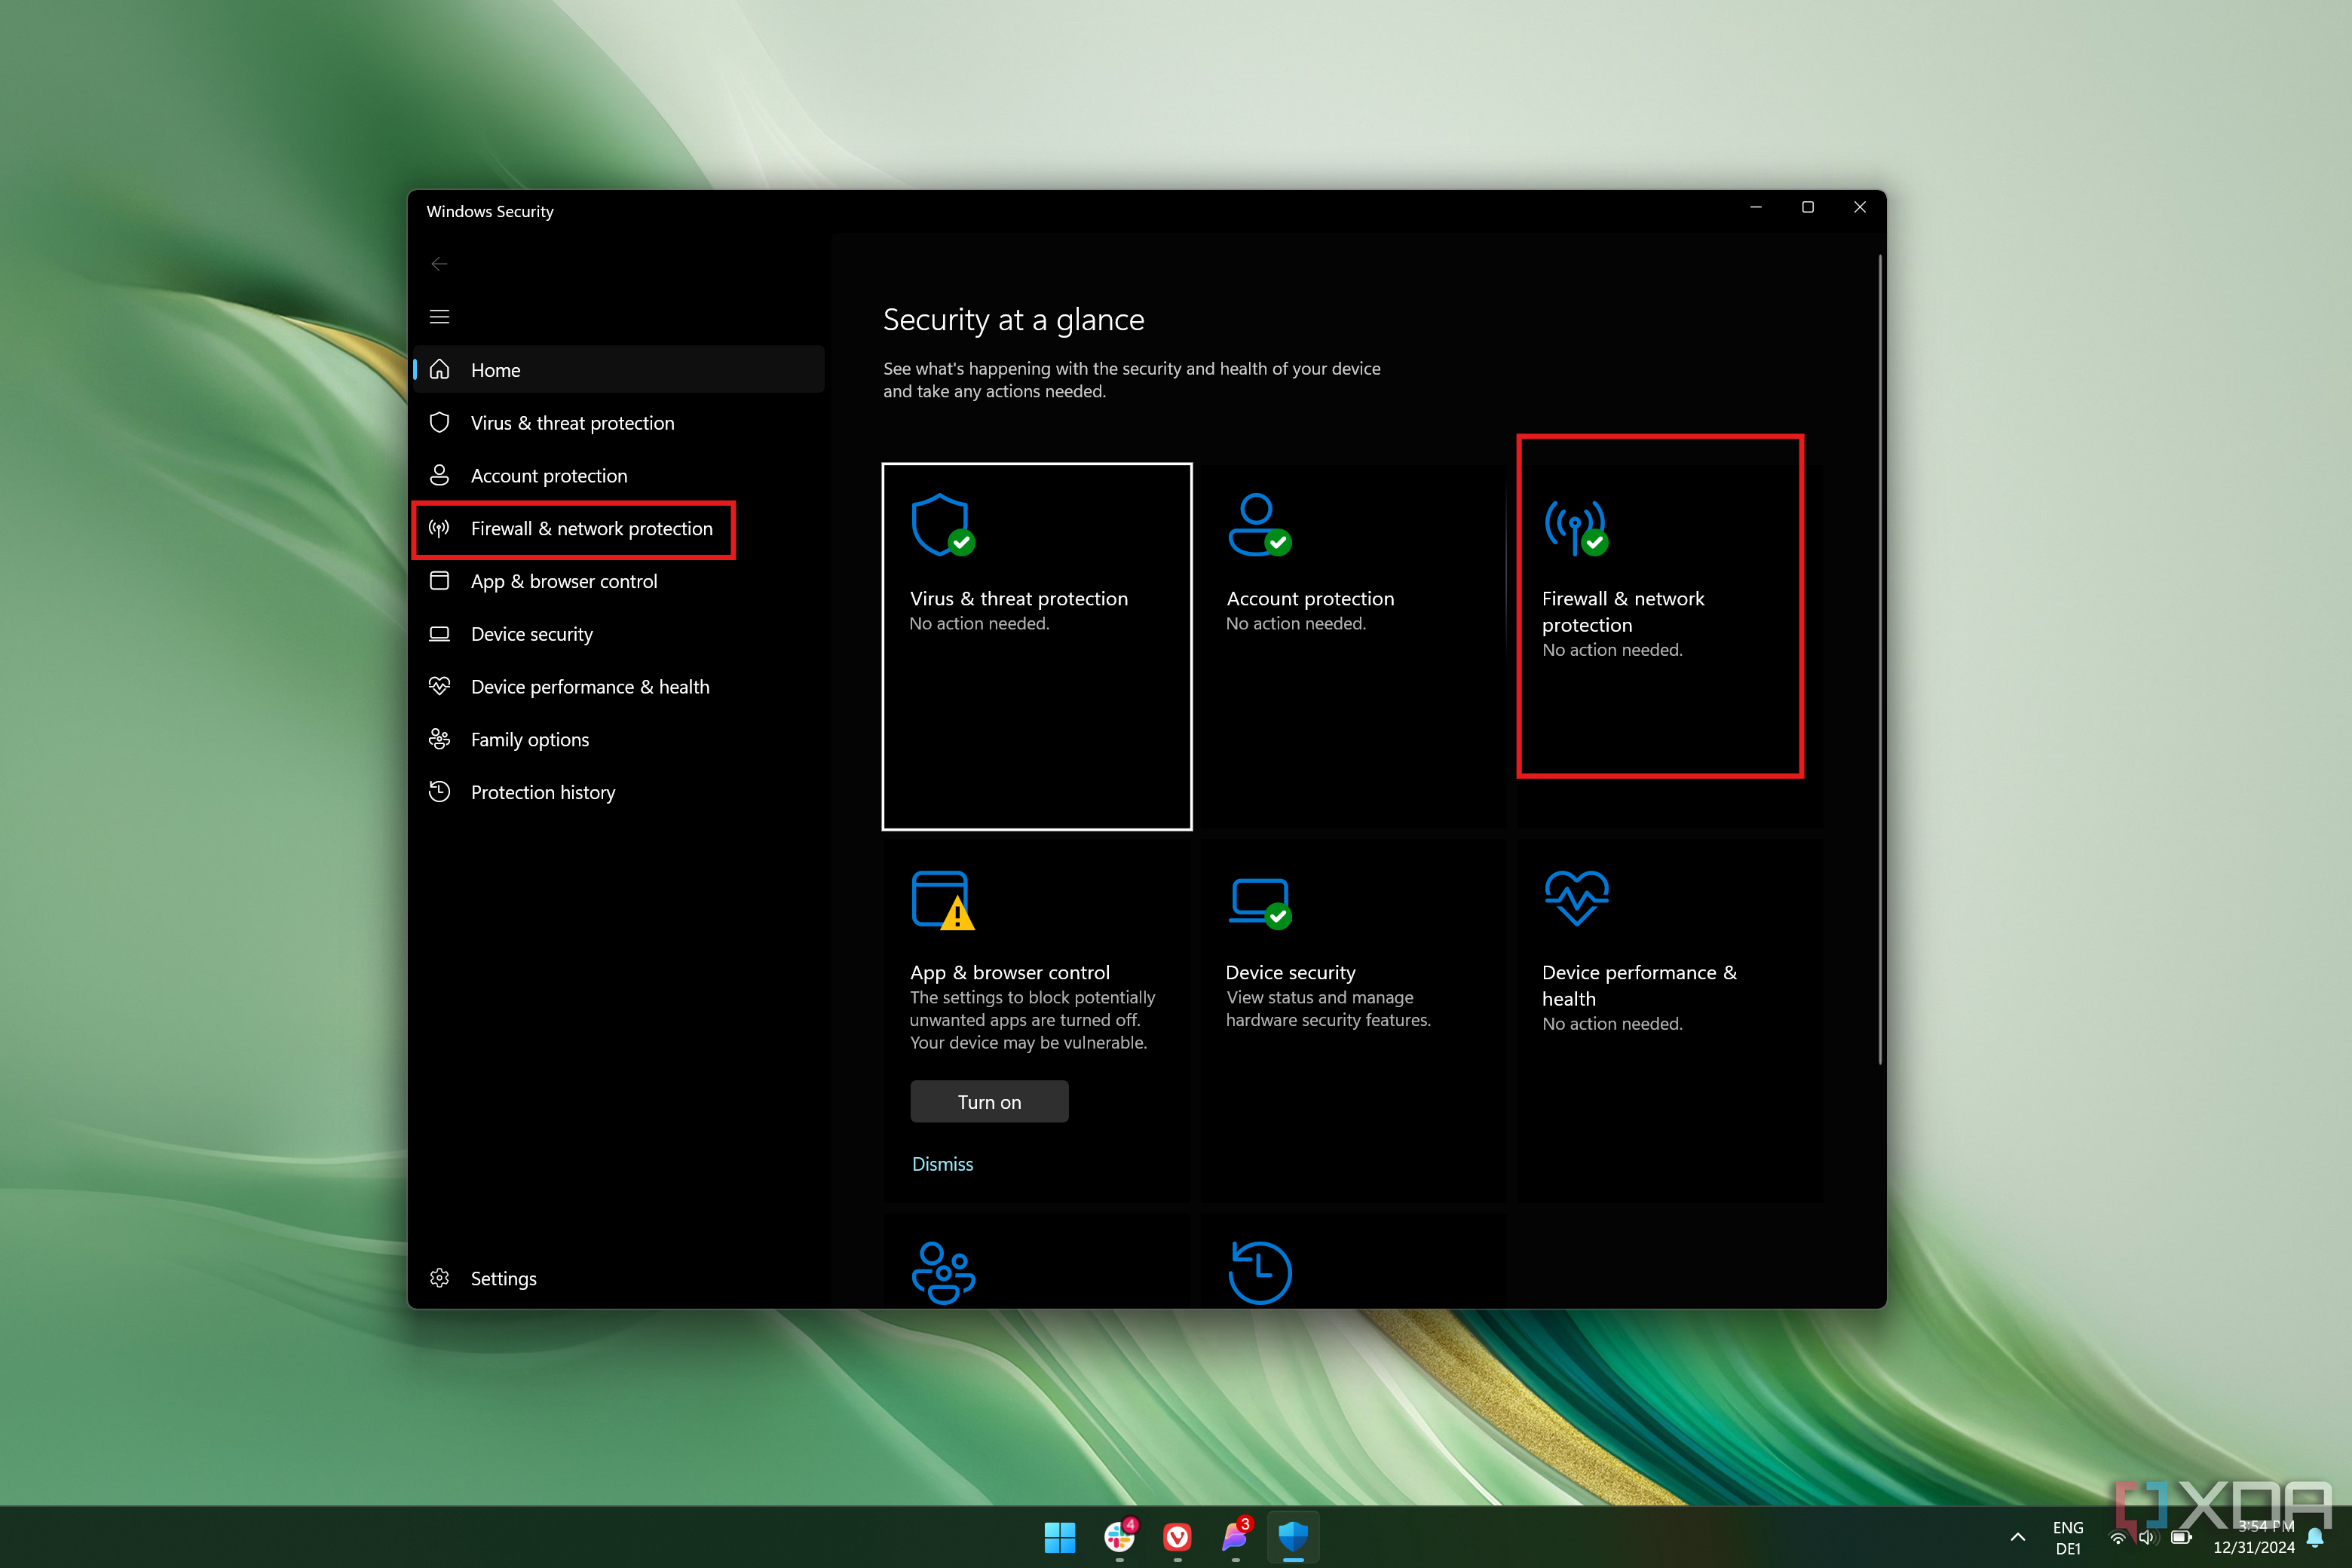
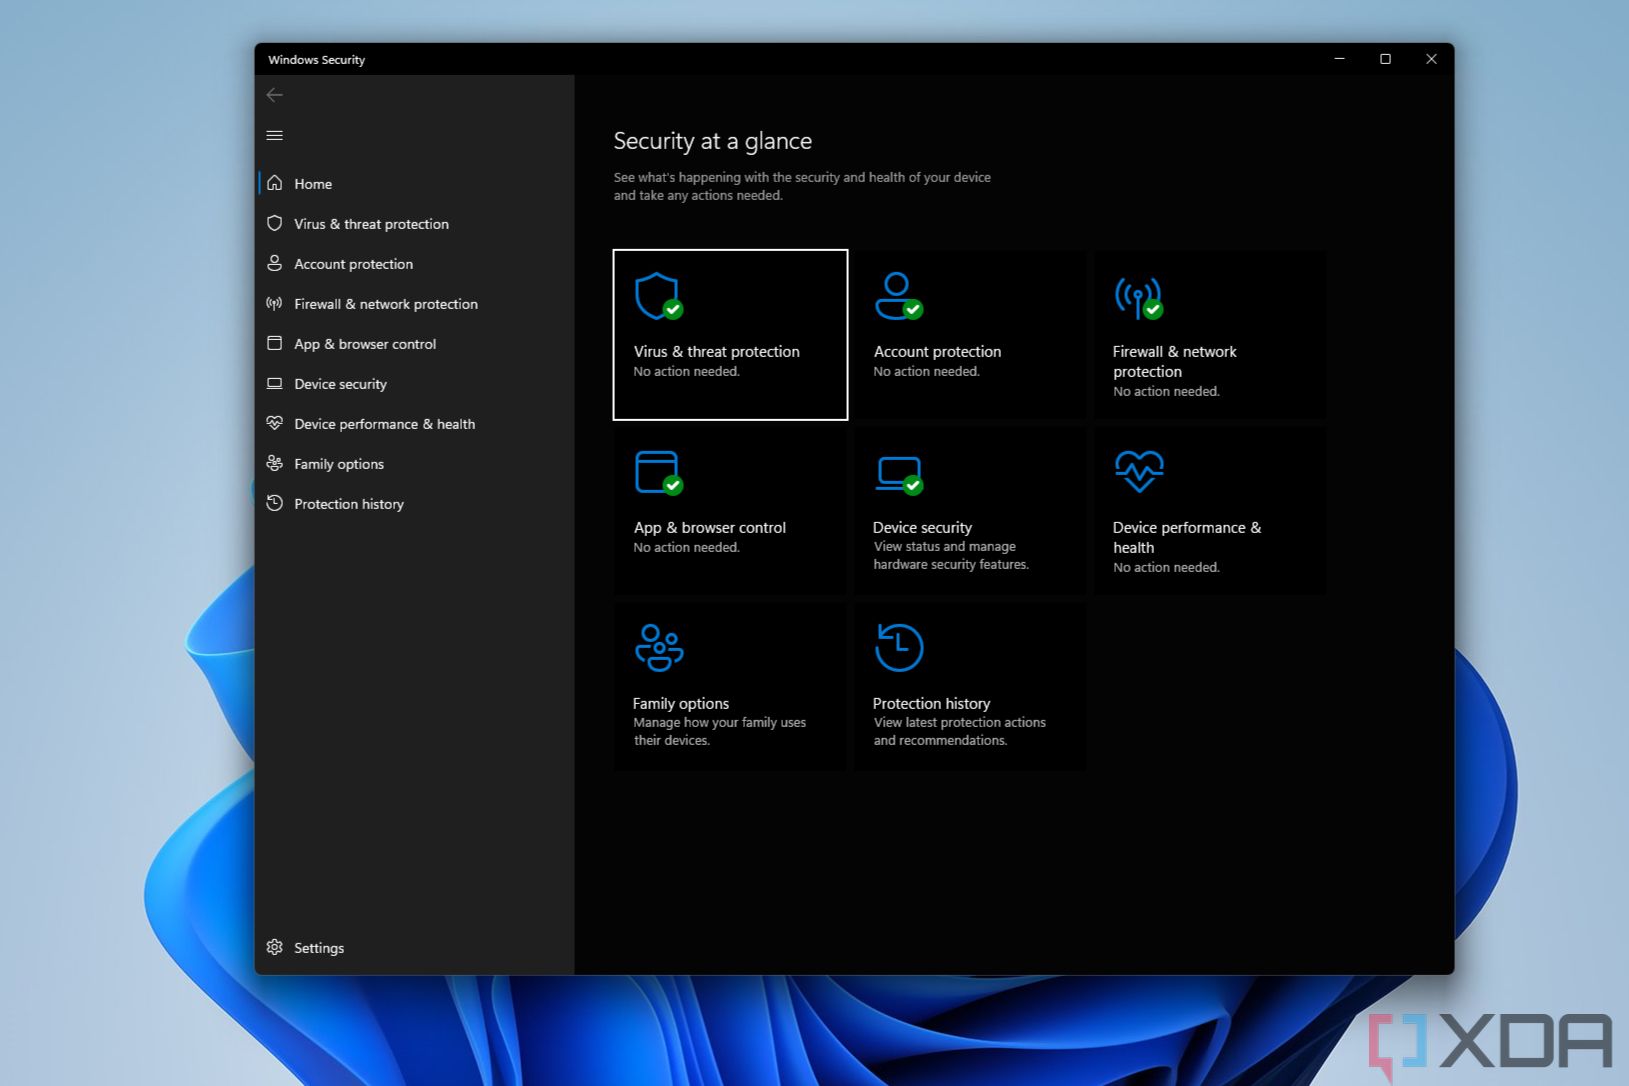
- Open the Start menu and search for Windows Security. Open the first result. Alternatively, Windows Security usually has a system tray icon. Click the arrow icon near the bottom-right corner of the screen and double-click the Windows Security icon (the blue shield).
-
Select Firewall & network protection from either the side bar or the main section of the app.
-
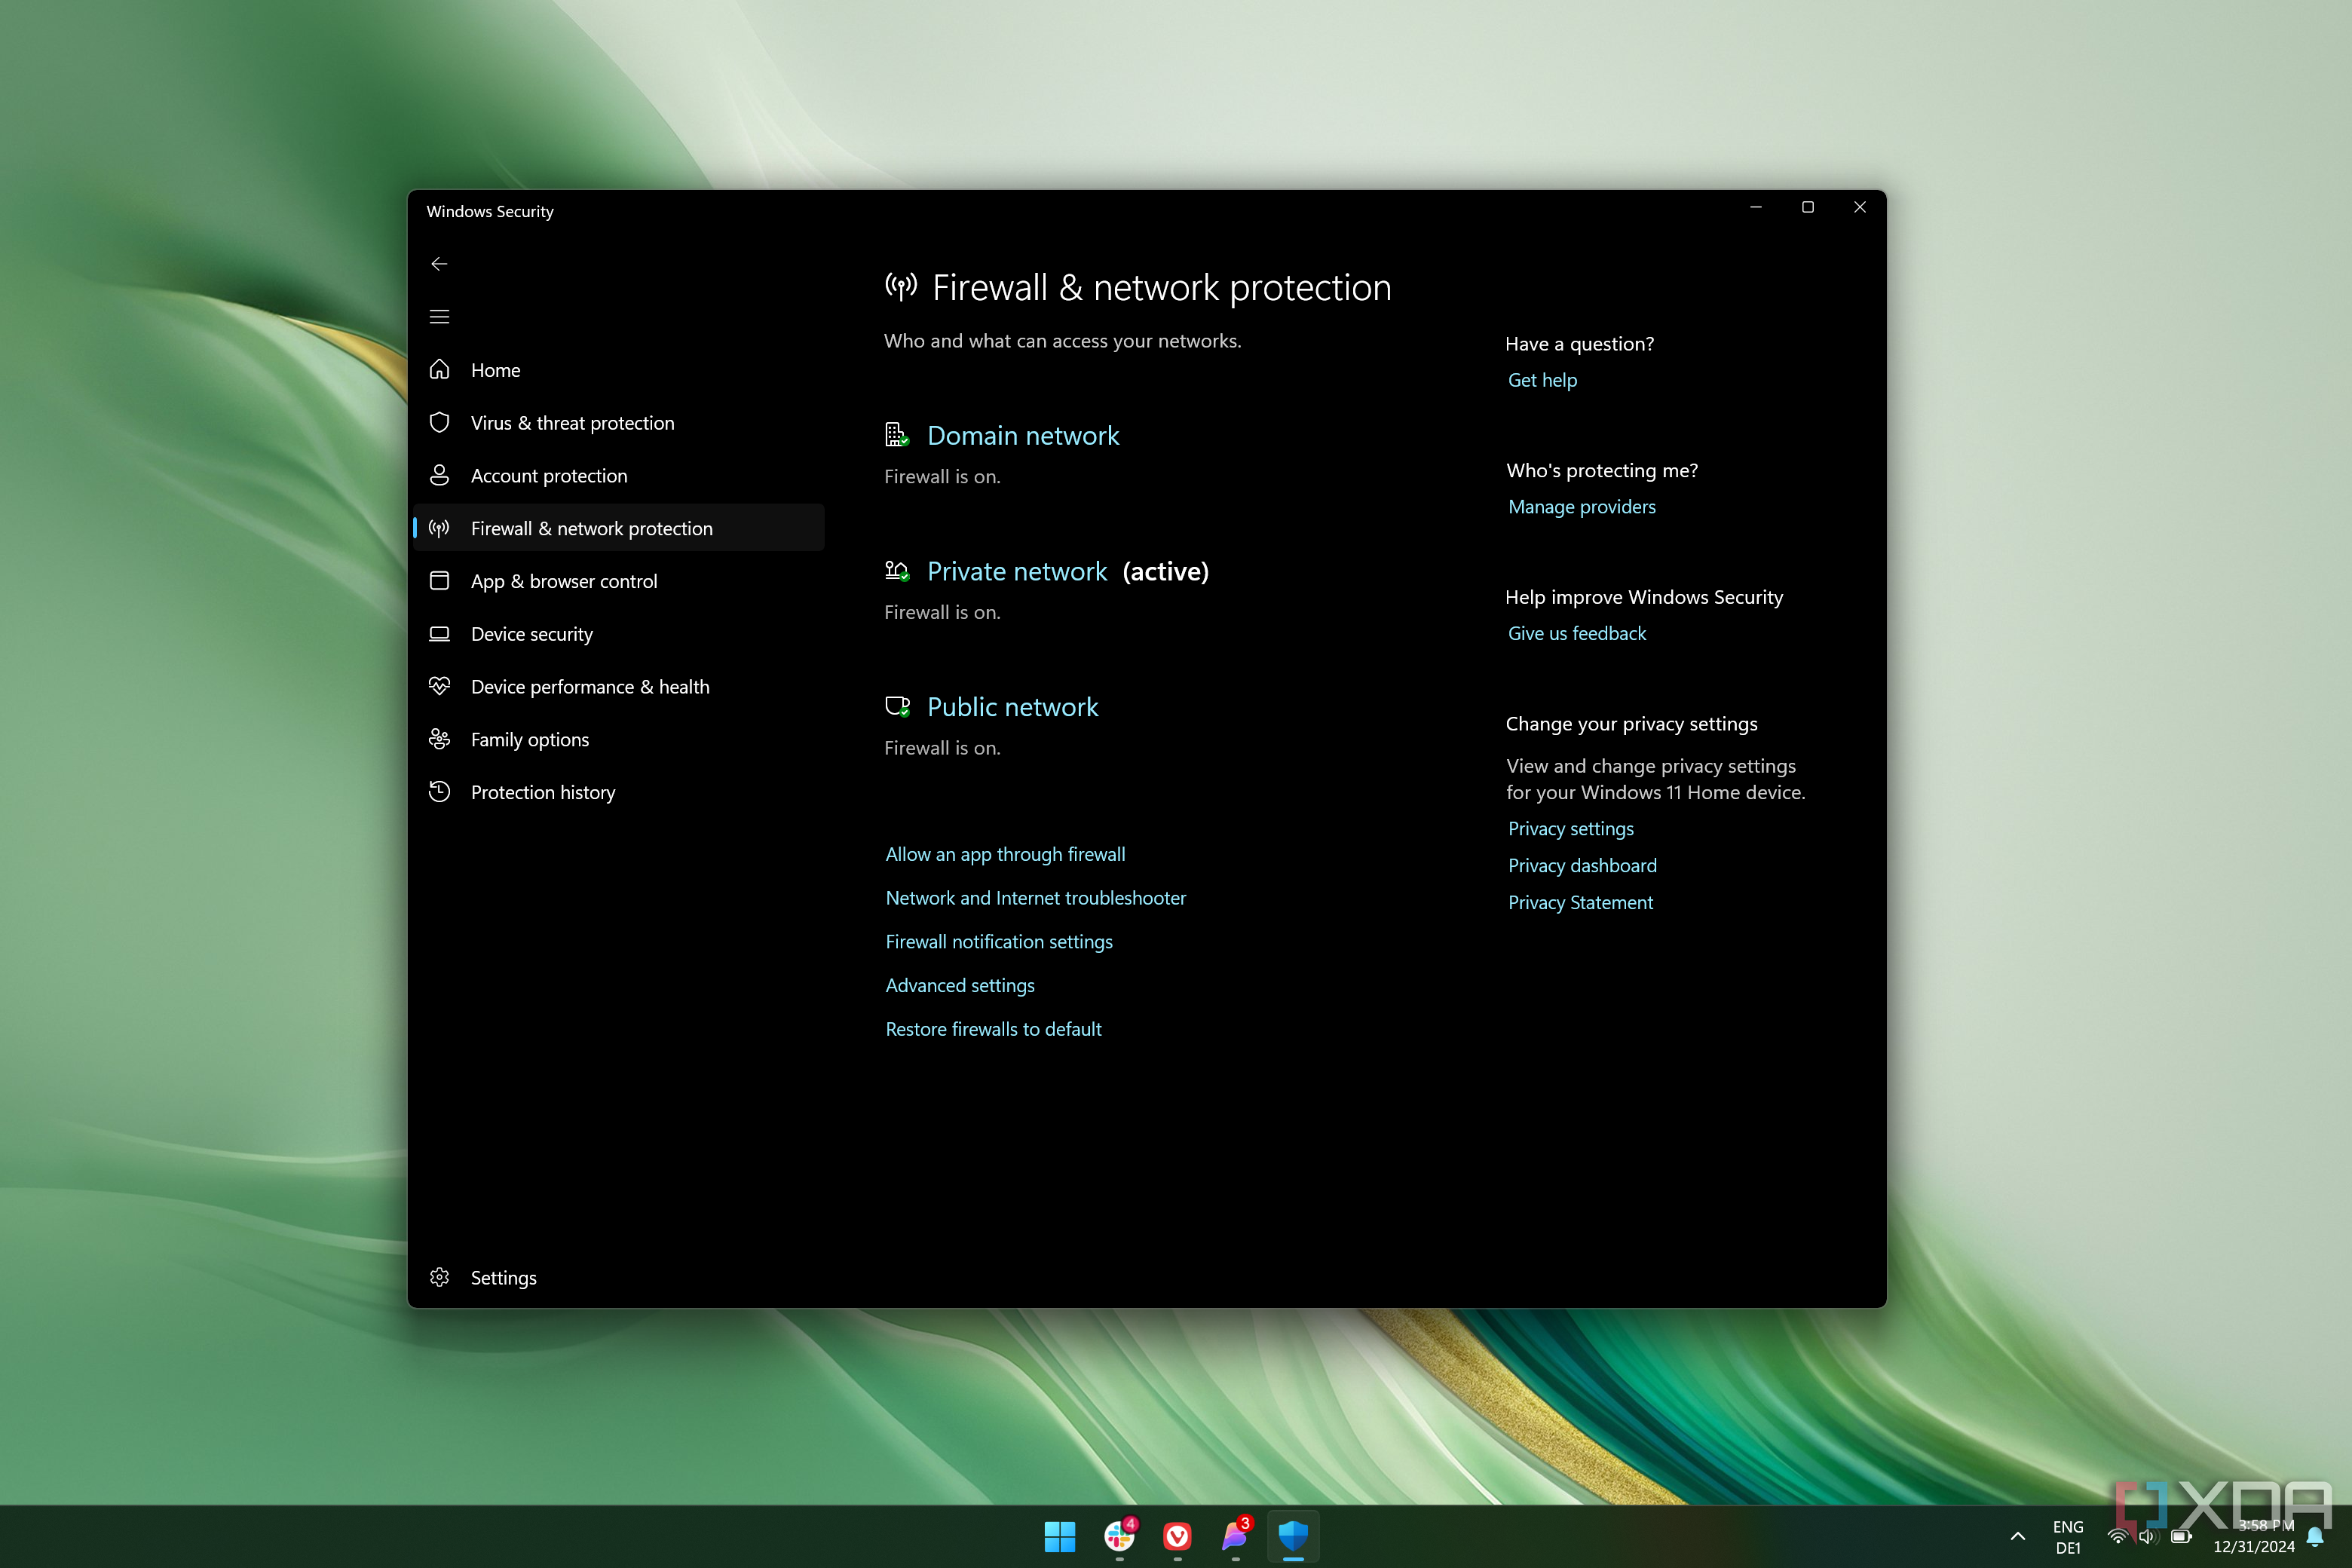
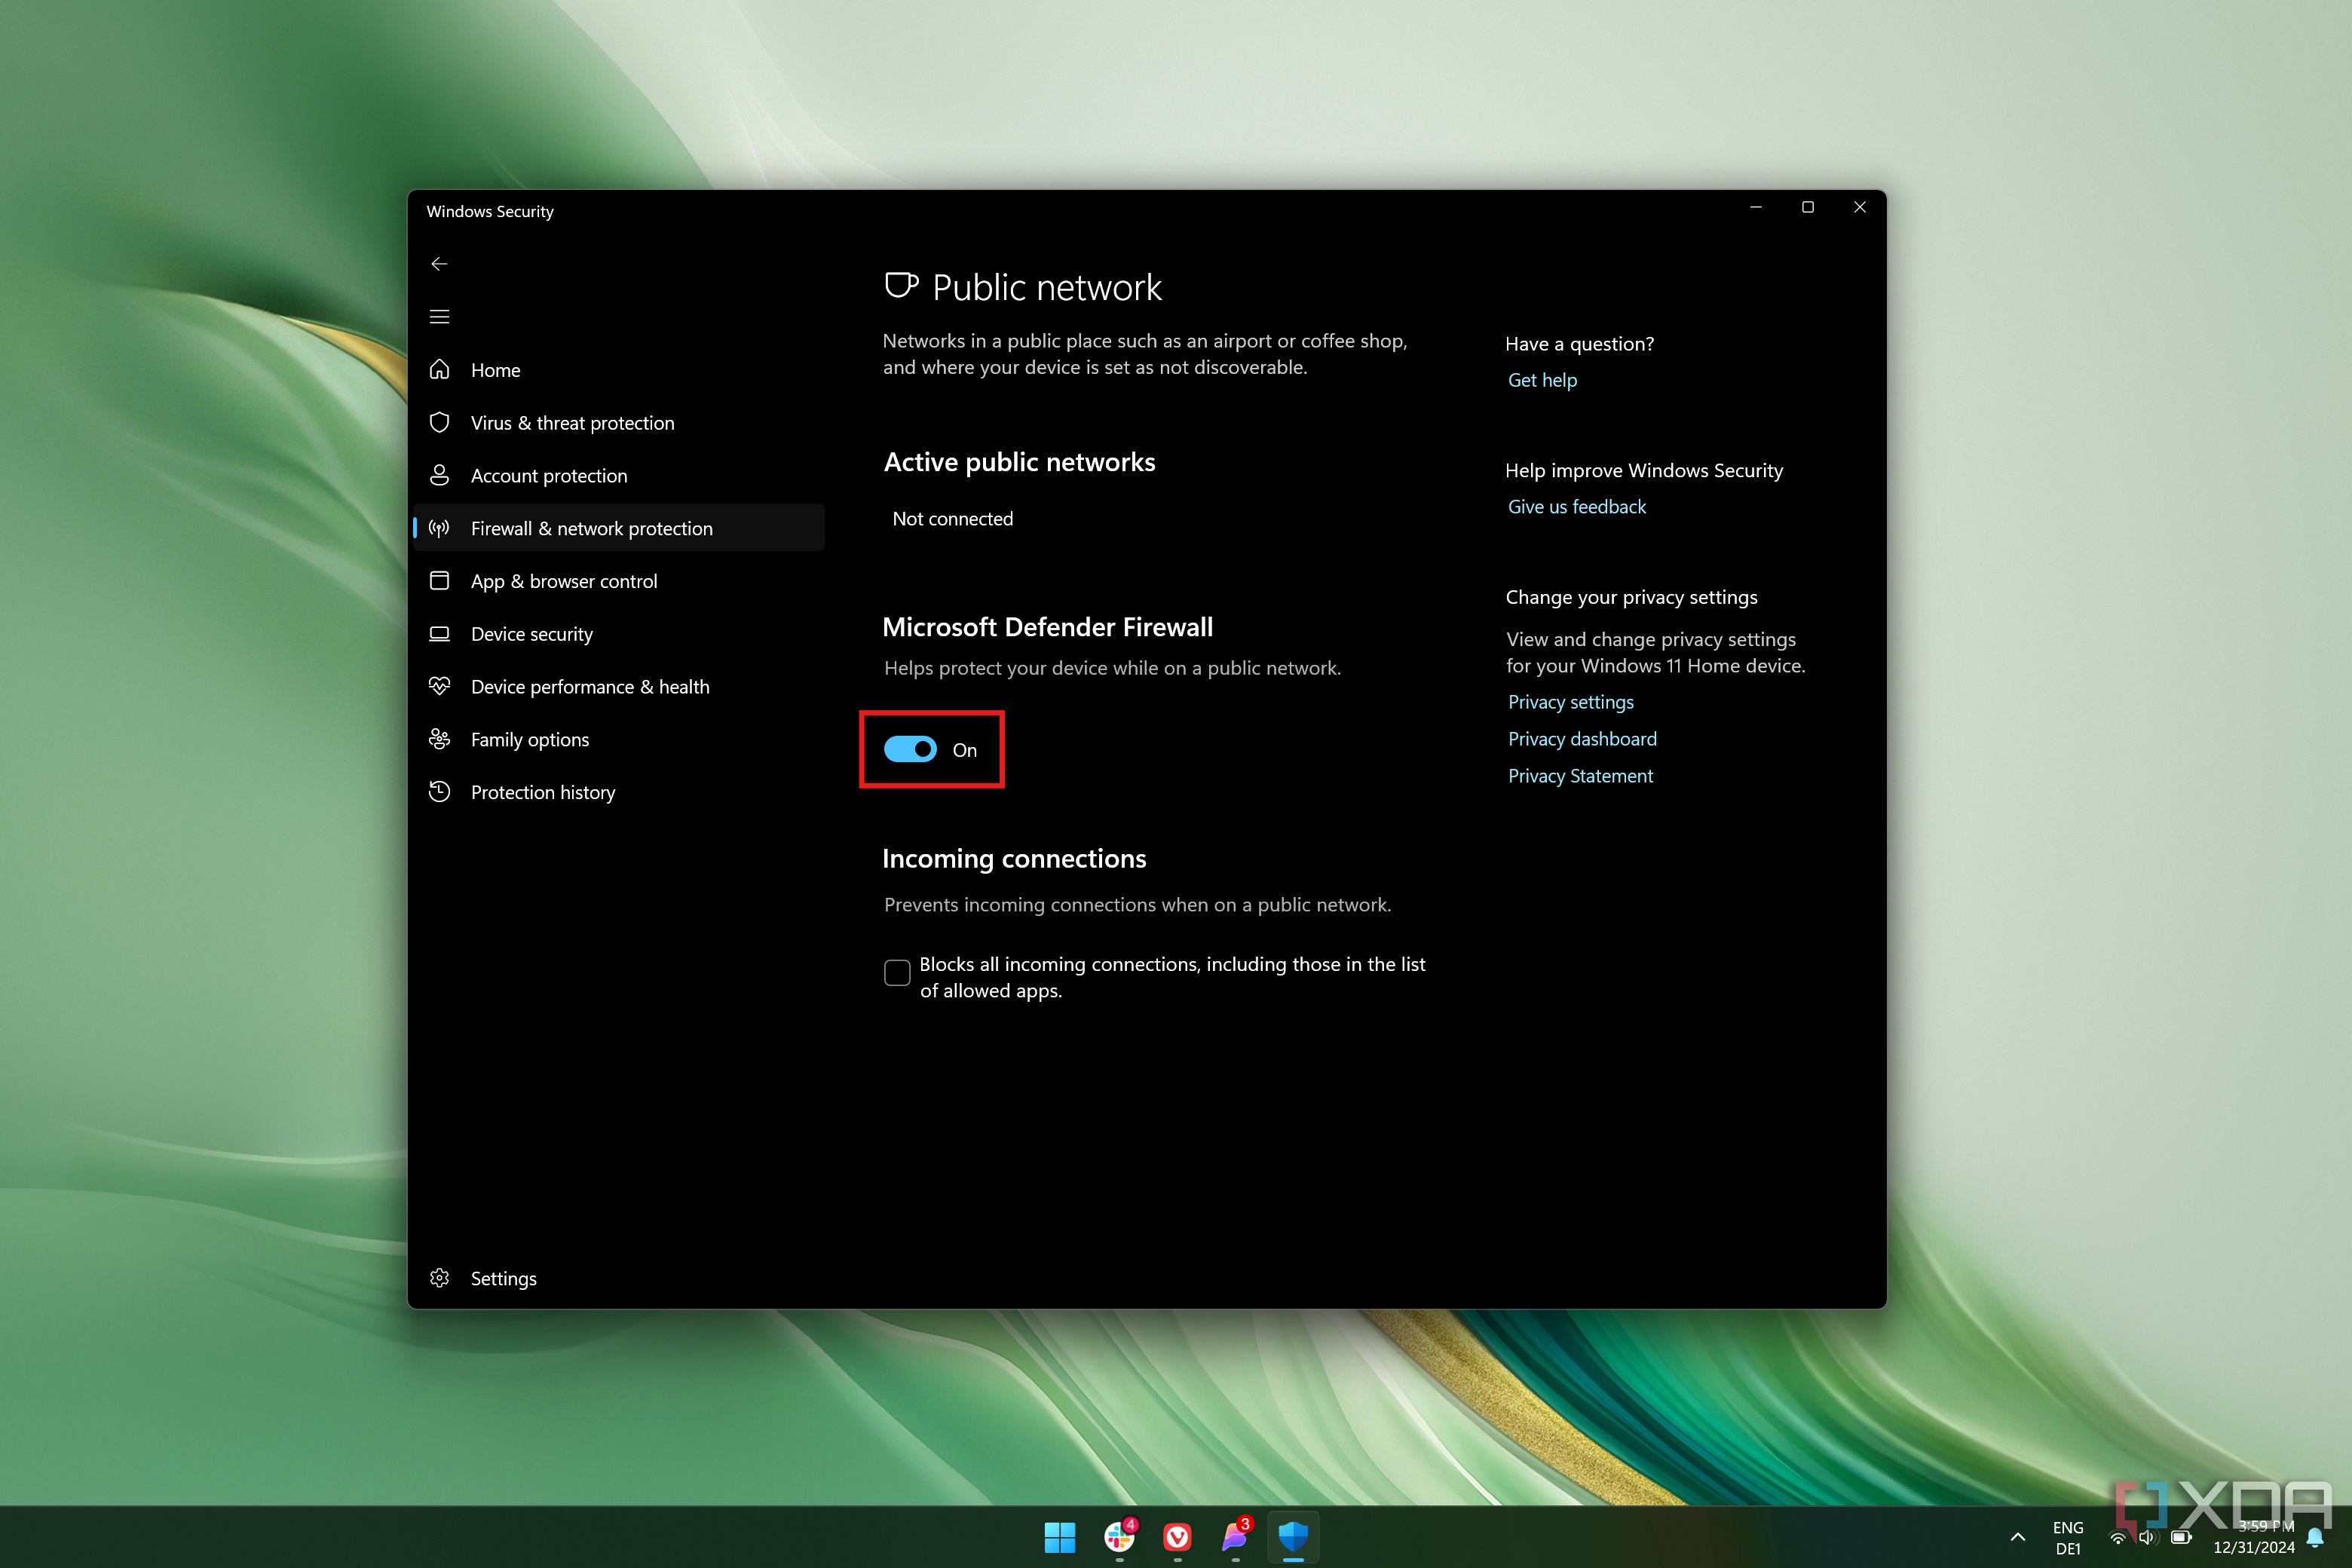
You’ll see the current firewall status for three network types: Domain networks (used in some enterprise environments), Private networks, and Public networks. The current network profile in use will be labeled with (active), and the firewall status is shown below the header.
-
You can click on each of the network types to change the firewall settings for that network type. Under Microsoft Defender Firewall, you can set the toggle to On or Off depending on your needs. For example, if you want to turn the firewall off completely (you shouldn’t), you’d want to turn this off for every network type.
If you want to turn the firewall off only for specific types of networks, it’s important that you set the right type of network for the connection you’re currently using. You can change network types in the Settings app. Windows firewall settings can also be found in the classic Control Panel, if you prefer doing it that way.
Allowing an app through the firewall (or blocking it)
In many cases, if an app needs to use network connection requests, you’ll see a pop-up for the Windows Firewall asking you to allow network communications for that app. After that, you should no longer need to give this permission to the same app again.
However, if you want to manually allow an app through the firewall, you can also do that. Just follow these steps:
- Open the Windows Security app.
- Click Firewall & network protection in the sidebar or the main pane.
-
Choose Allow an app through firewall.
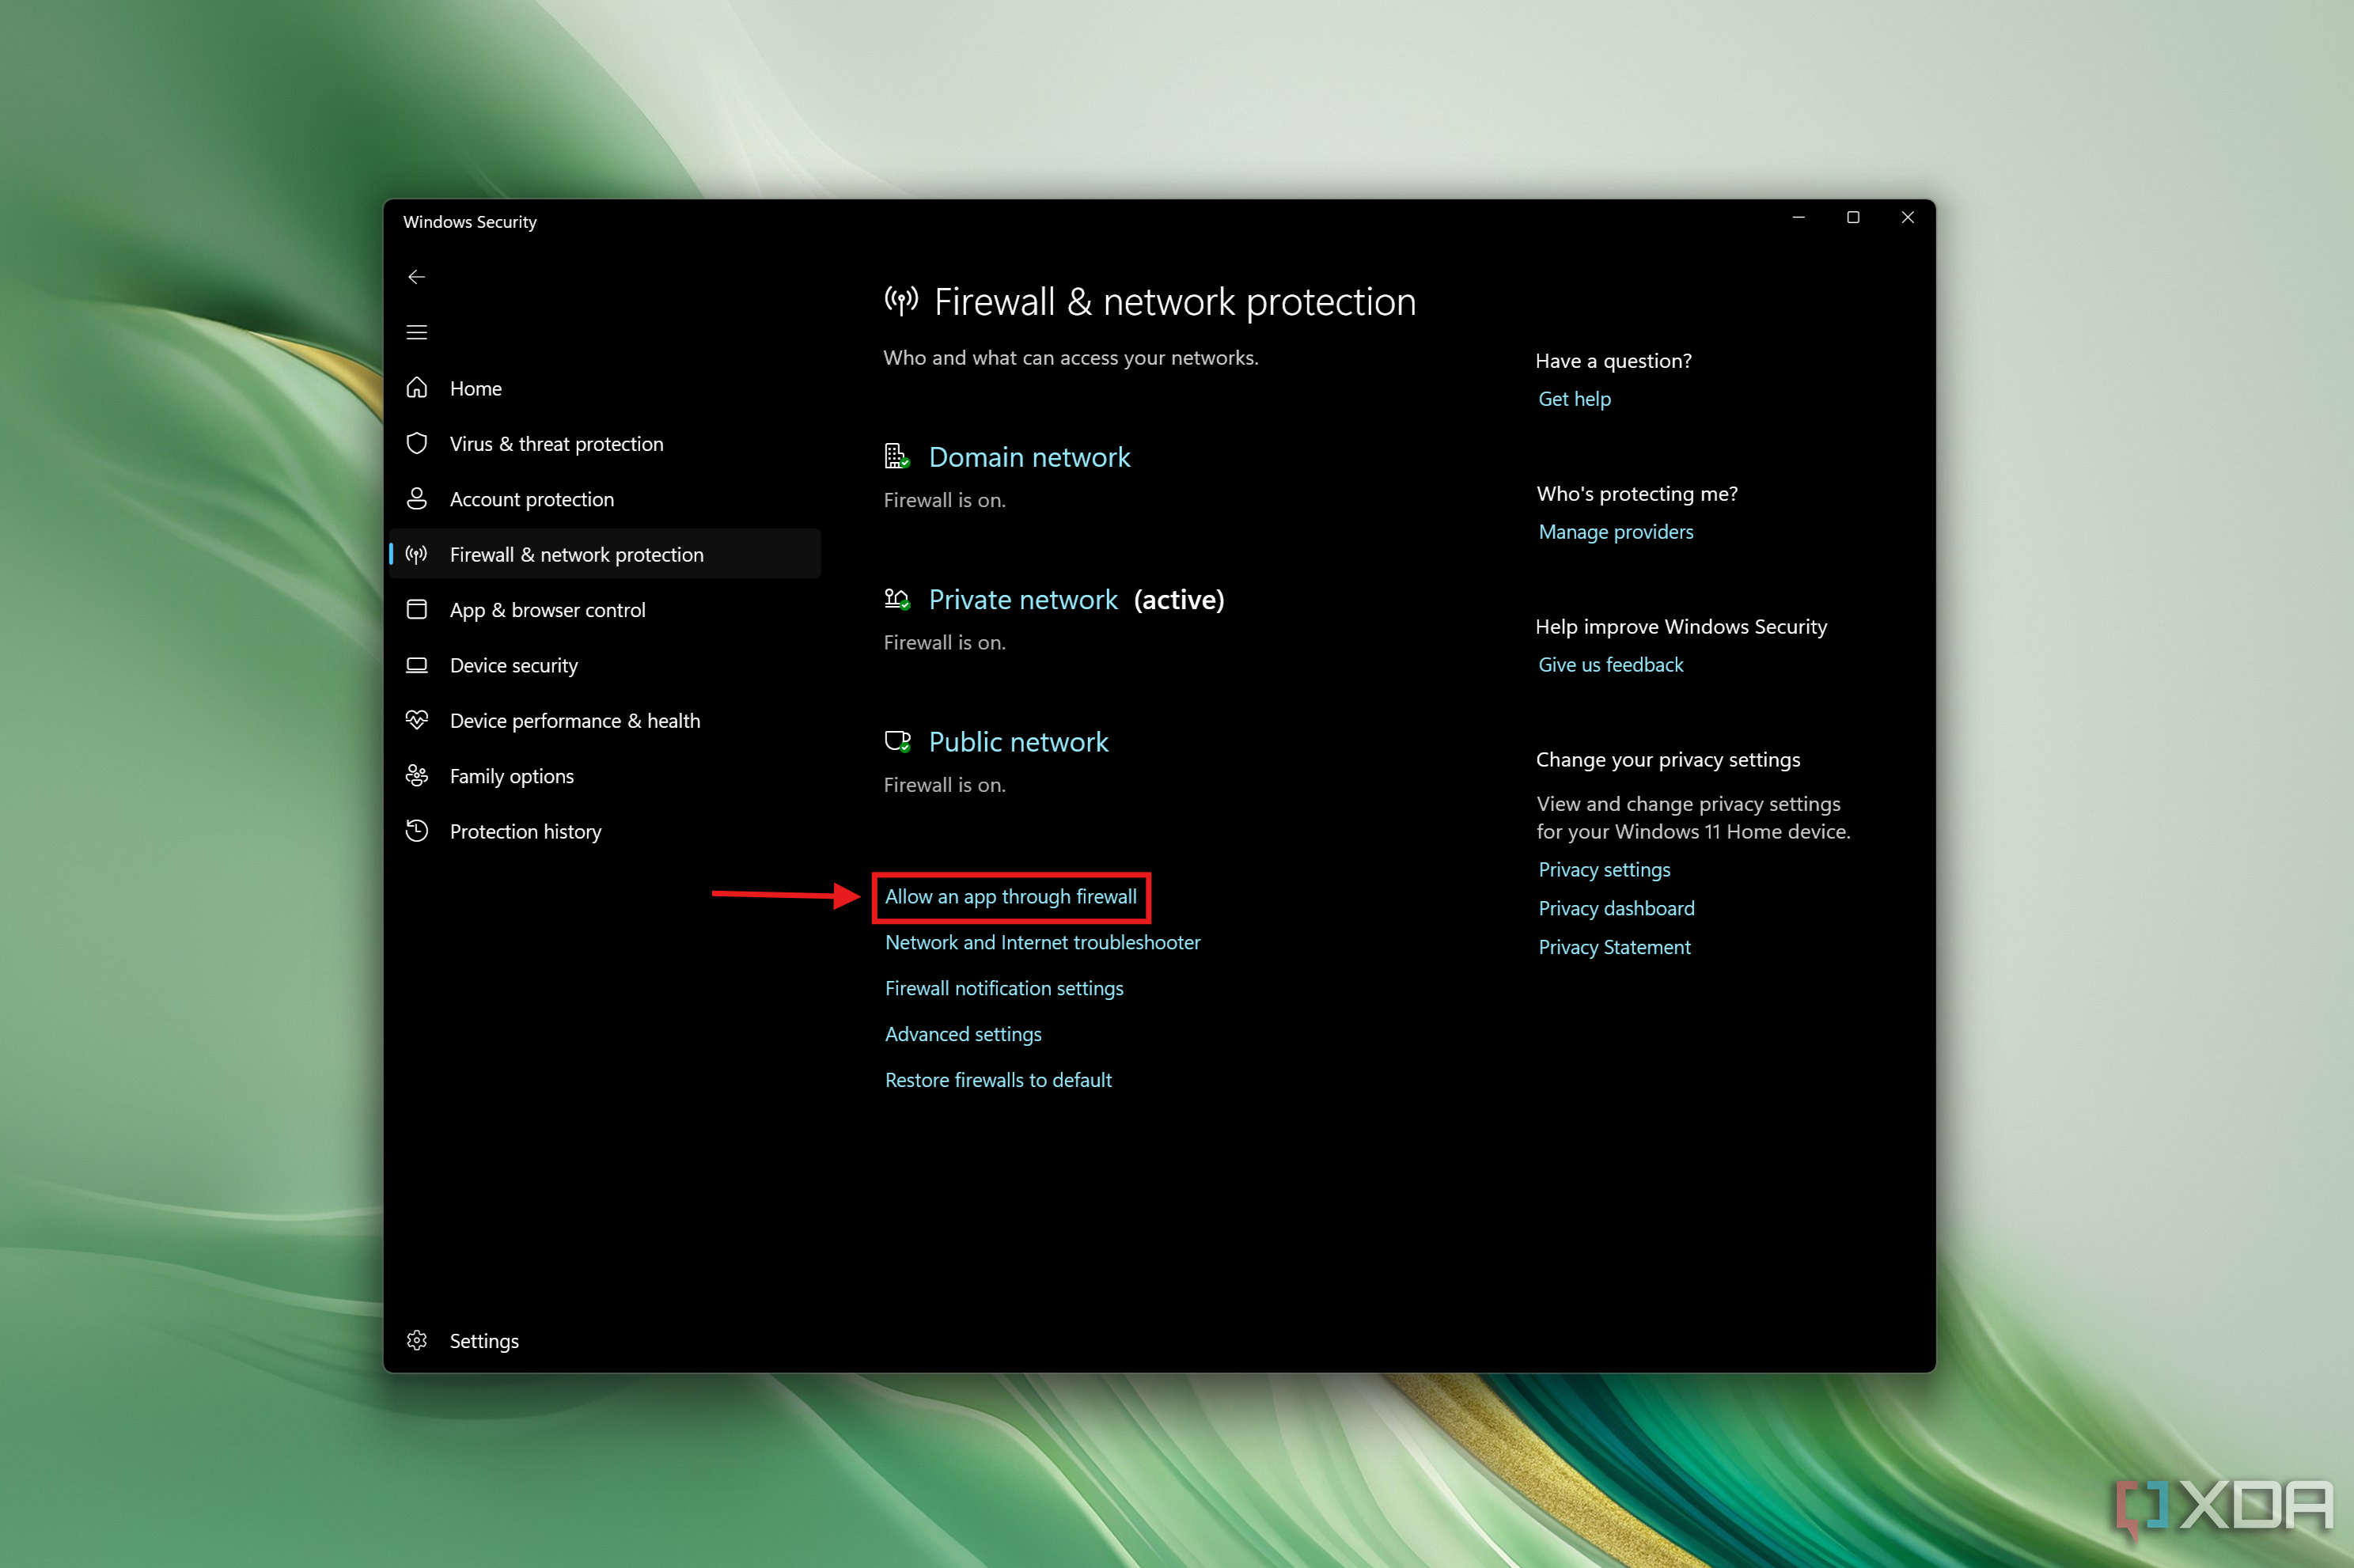
-
You’ll see a list of allowed apps and features that can already pass through the firewall. Click Change settings (you’ll need administrator rights to proceed).
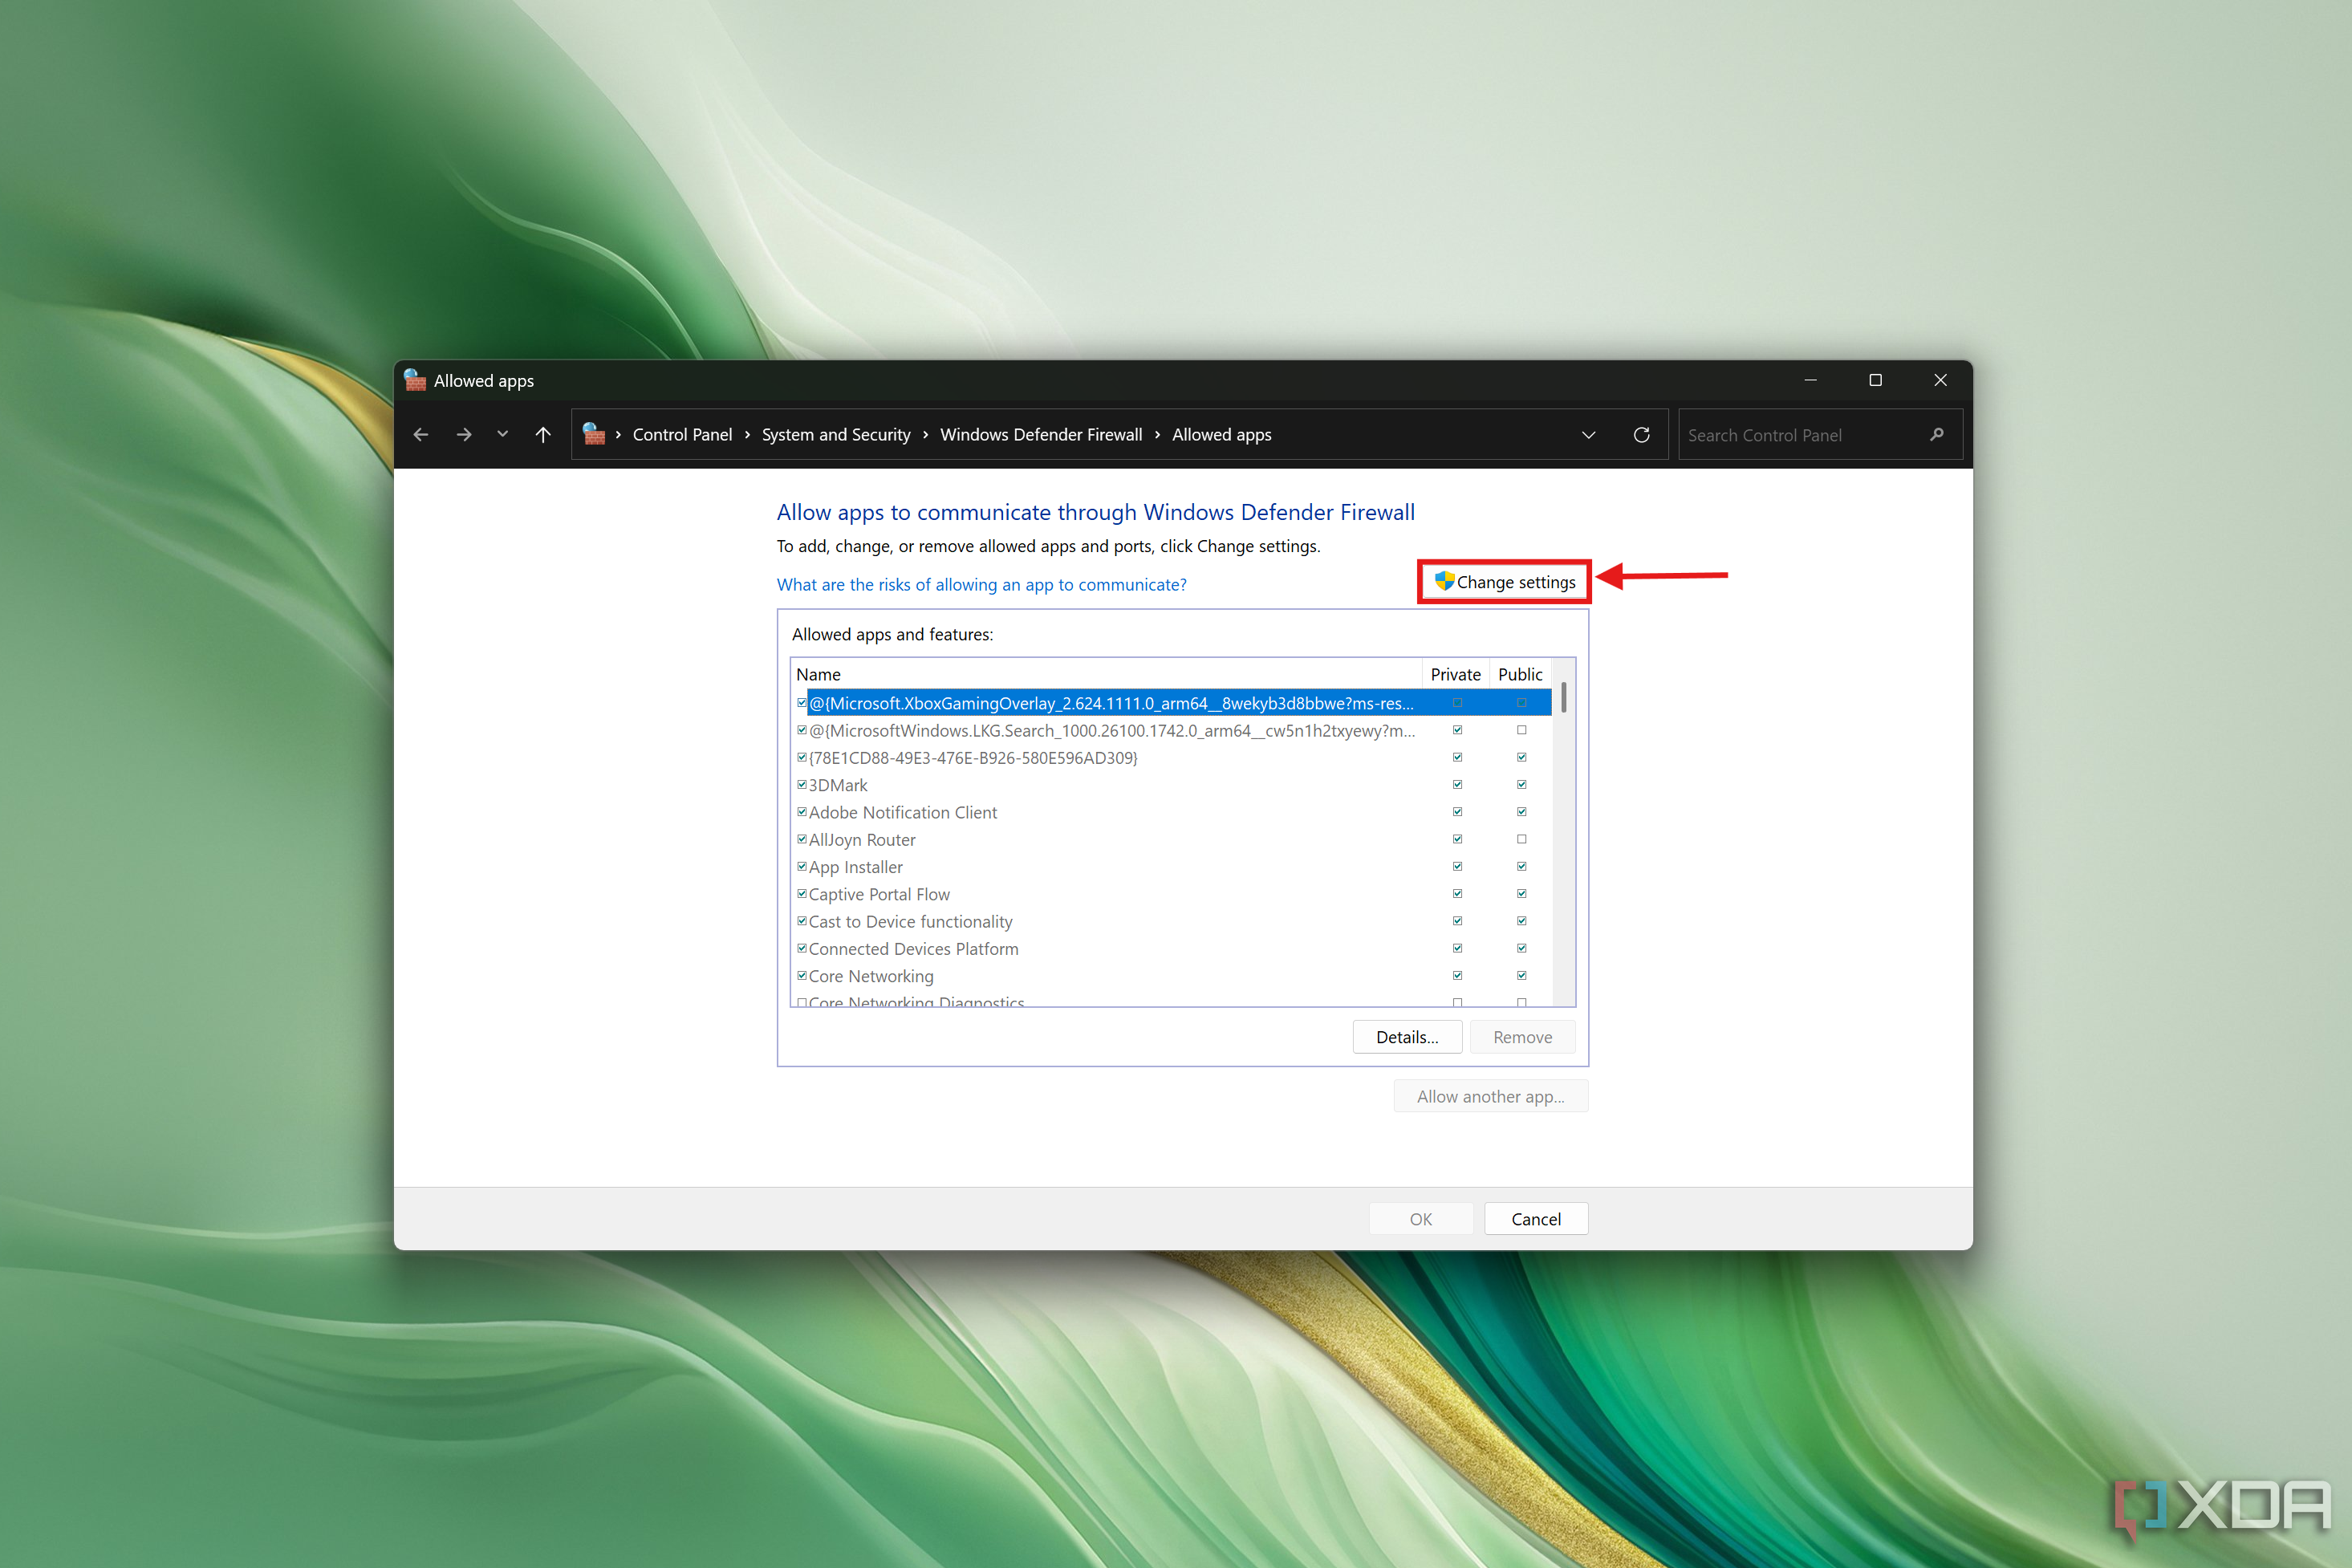
- To block an allowed app from communicating, click the checkbox to clear it under either Private or Public depending on the network type you want to configure.
-
To add a new app to the list, click Allow another app.

-
Click Browse to find the executable file you want to allow through the firewall.
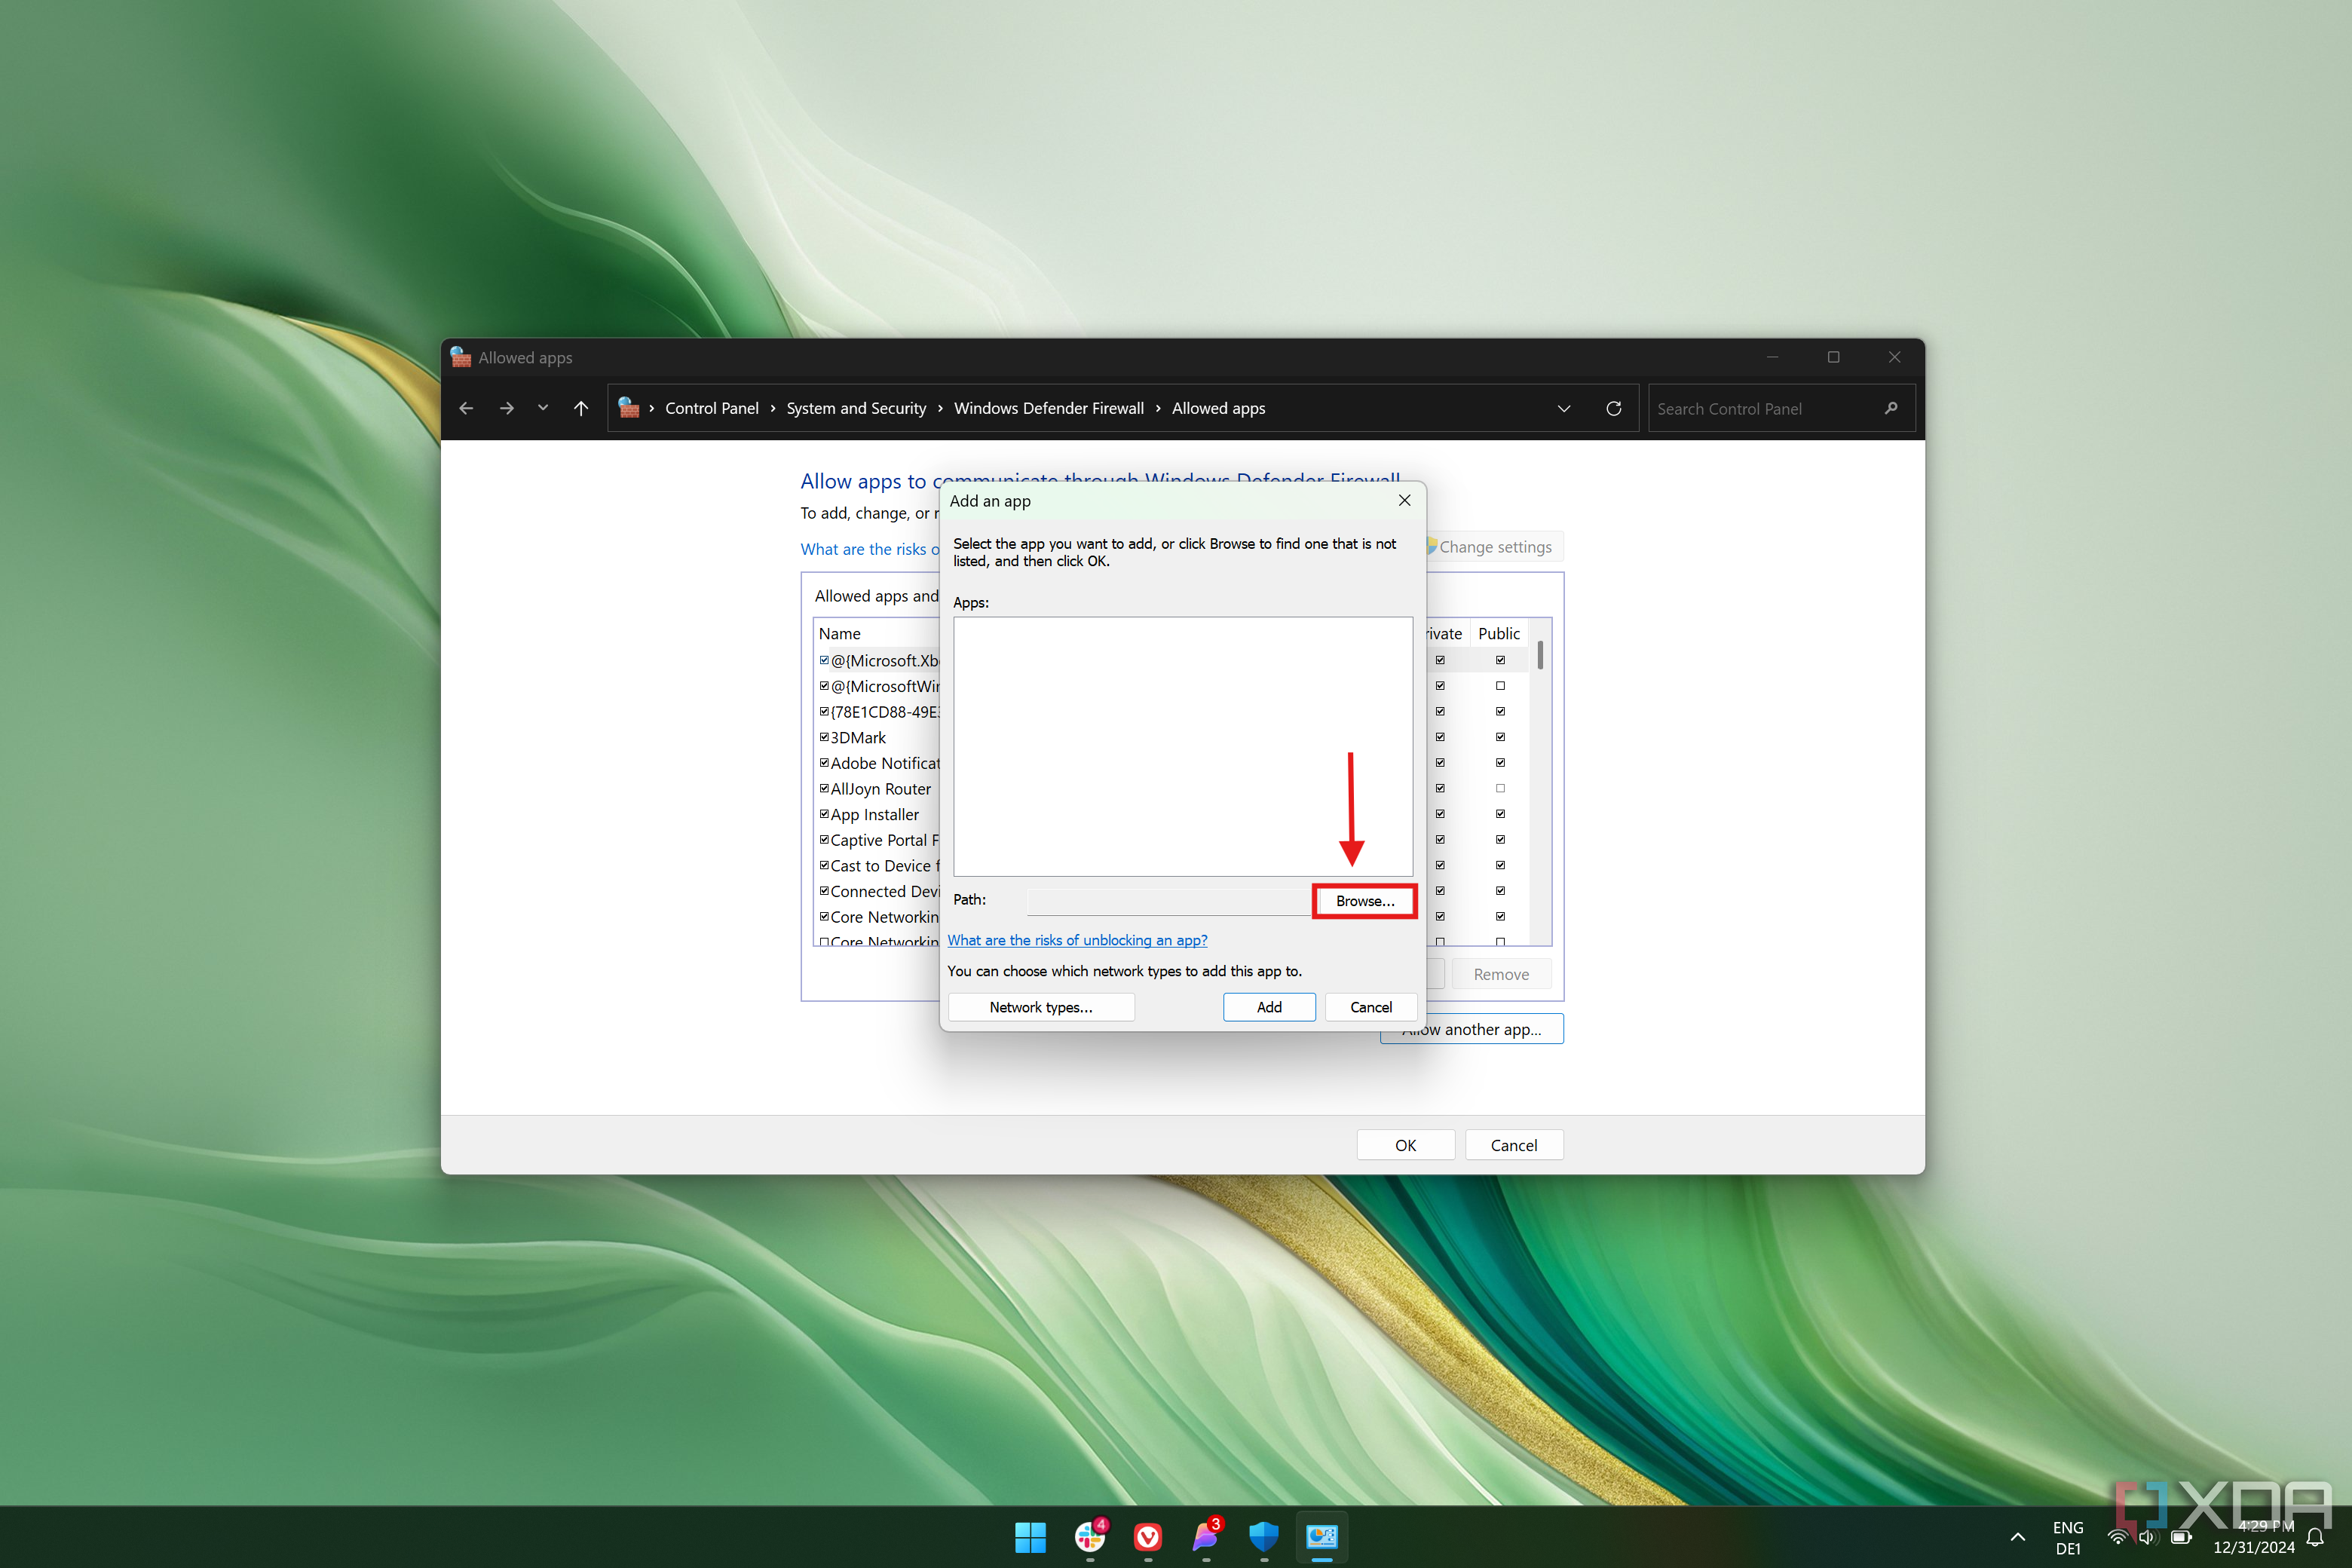
- Click Network types to configure which types of networks the app can communicate on.
-
Check or clear the boxes for Public or Private depending on your desired settings, then click OK.

- Click Add to finalize adding the app to the allowed list.
Windows firewall advanced settings and custom rules
For the most part, the steps above are all anyone should need to do to set up their firewall to suit their needs. However, there are a few more settings you can customize if you need something more specific. In the Windows Security app, click Firewall & network protection and then Advanced settings, and you’ll see this window:
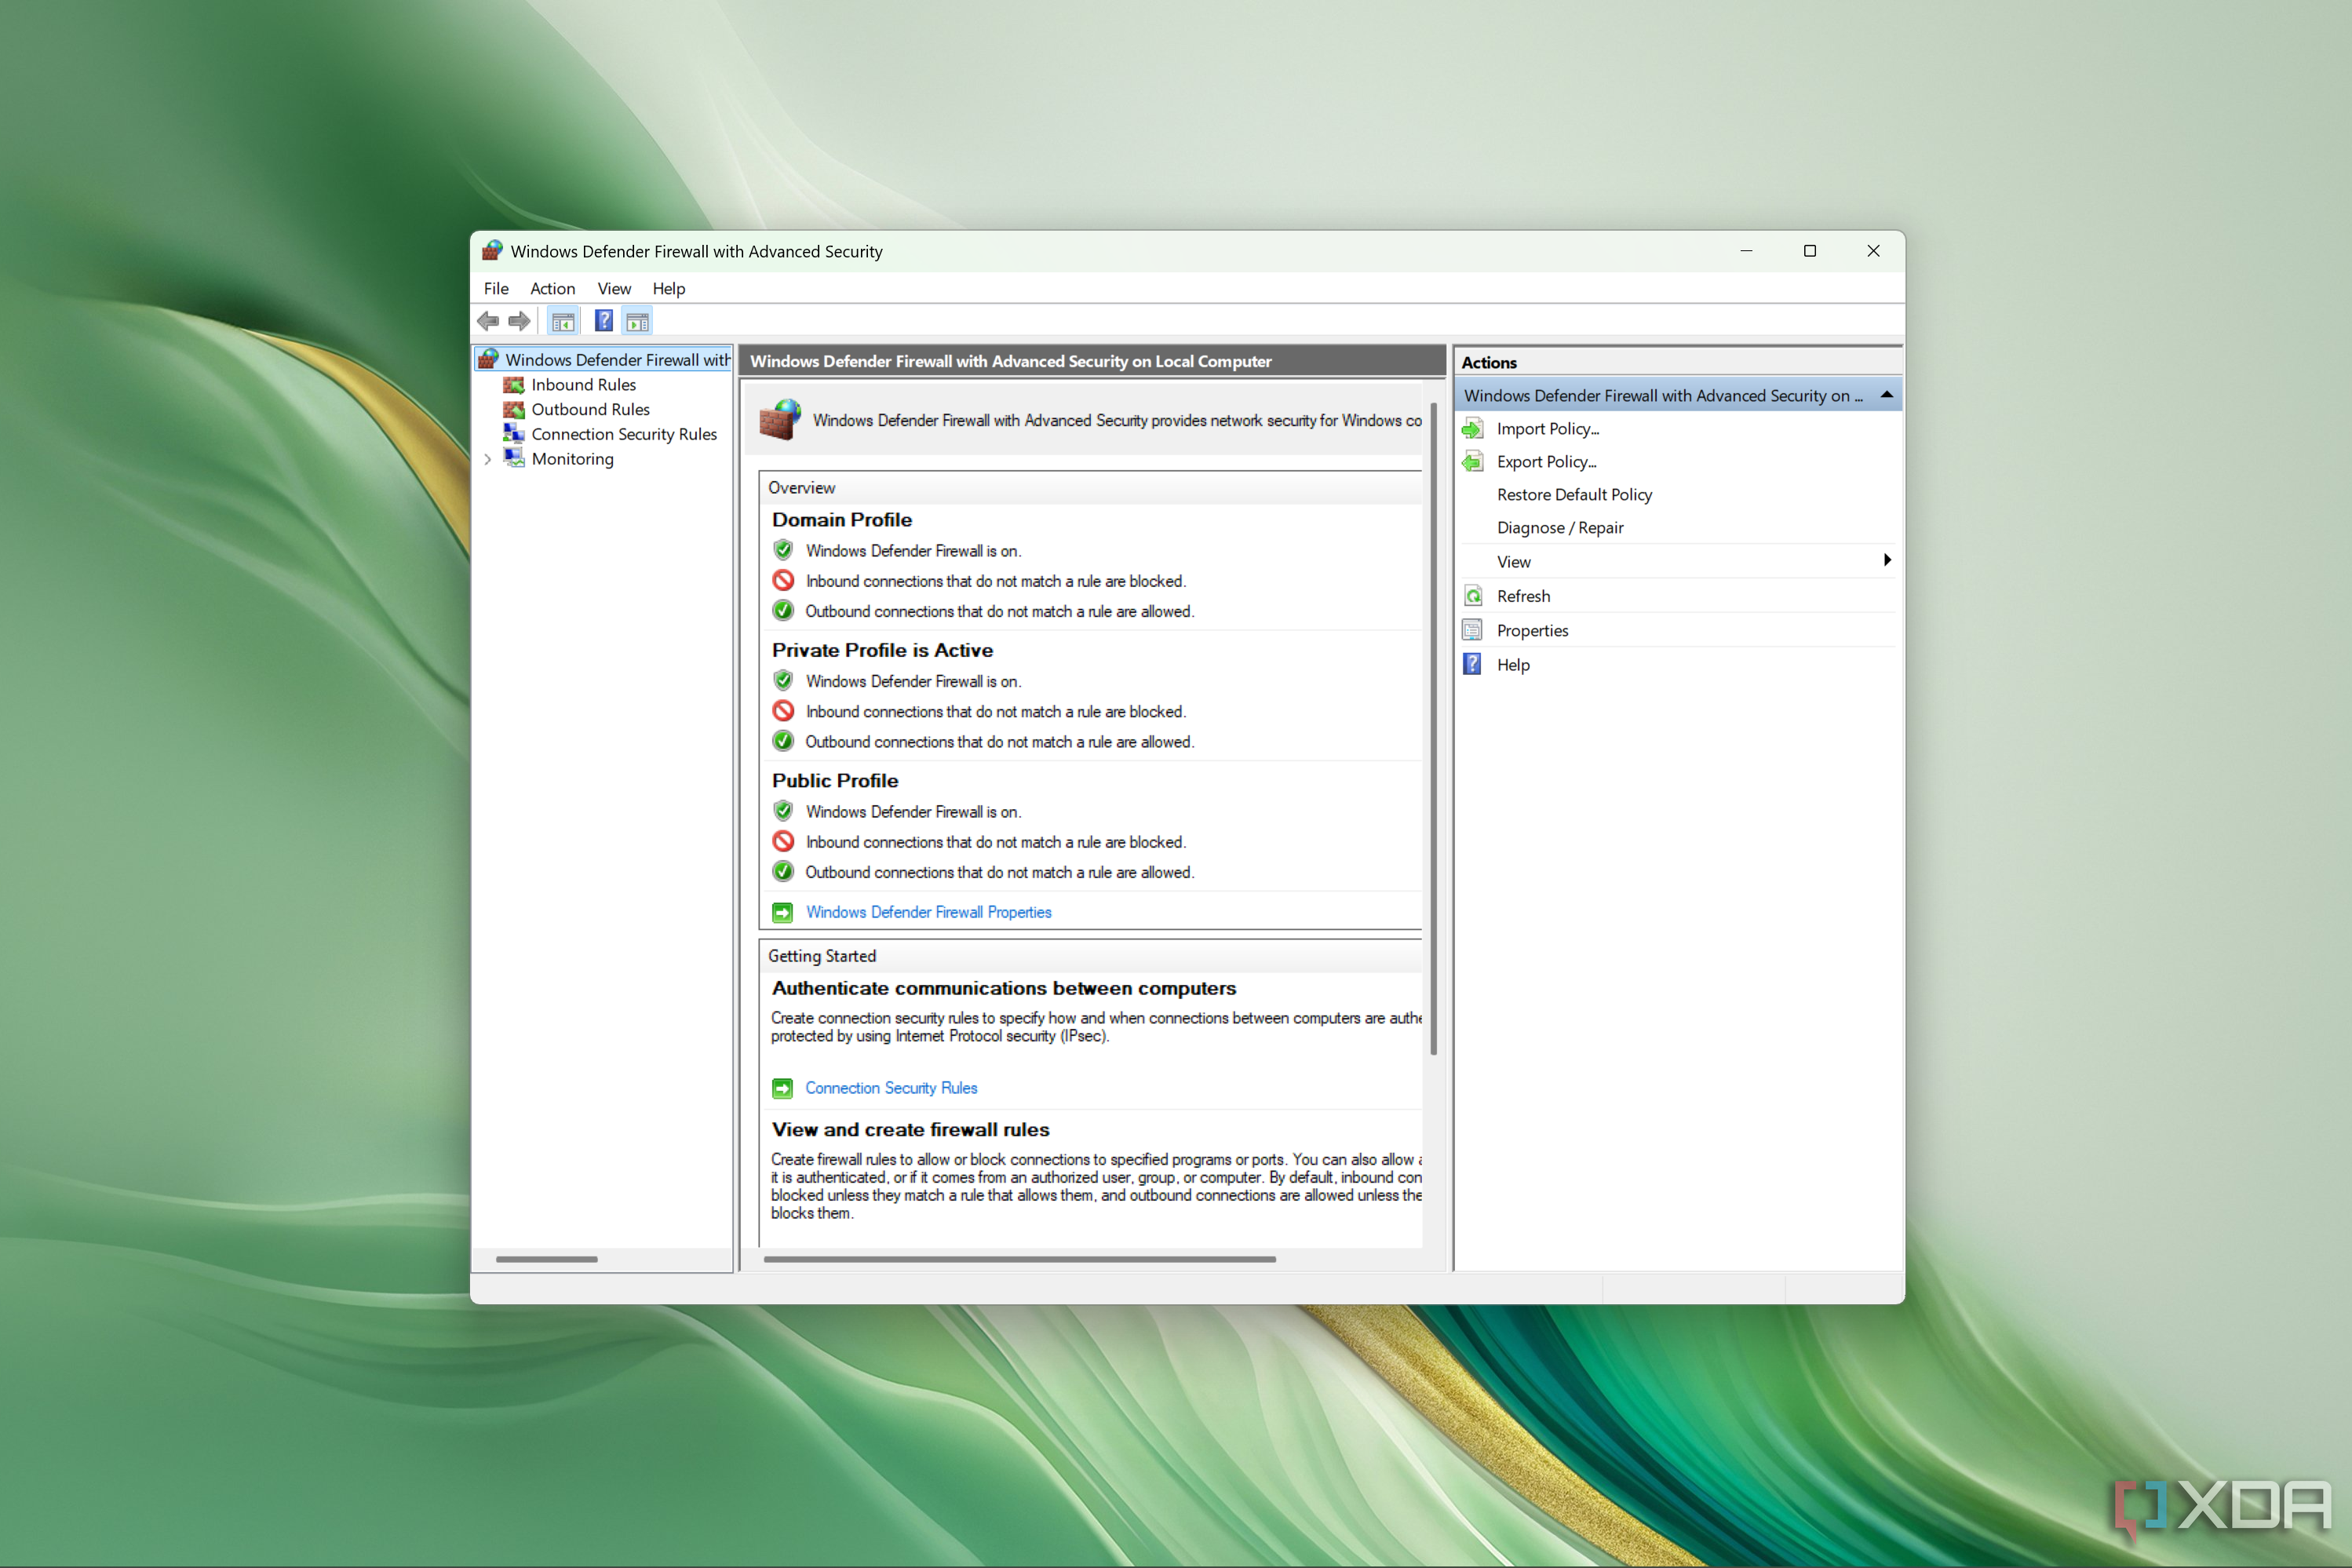
From here, you can do a few things:
Import or export policies
If you want to use the same Windows firewall policies across different PCs, exporting and importing policies can help. In the main view (Windows Defender Firewall with Advanced Security), you can click Import policy to copy existing Windows Firewall settings and override your current ones. Conversely, the Export policy button lets you export your current settings to share with other users.
Custom inbound and outbound rules

On the left-side pane of this window, you can see the Inbound Rules and Outbound Rules sections, which contain the apps and features that have been allowed through the Windows firewall. Here, you can click New Rule in the menu on the right-side of the window to allow specific communication requests.
Notably, the rules you create here can allow for communication over specific UDP or TCP ports, for example, which can be important for certain apps to function properly.
Connection security rules

Here, you can create and manage rules that ensure a secure connection for certain types of network communications. These are tools the vast majority of users won’t need, but they can be useful in very specific scenarios.
You probably shouldn’t touch most of these things
If you’re thinking about changing the Windows firewall settings just because, you probably shouldn’t. The feature is enabled by default and there’s nothing you should need to change for it to do its job properly. Only mess with these settings if you know exactly why you need to do it, and you’ll be totally fine.
Of course, the Windows firewall is only a small portion of the Windows Security suite, which includes the
Microsoft Defender
antivirus. If you’re looking to disable that, check out our guide below.
1:27
Related
How to disable Microsoft Defender in Windows 11
Microsoft Defender offers solid baseline protection against malware, but sometimes, you might want to disable it. Here’s how to do it.
This articles is written by : Nermeen Nabil Khear Abdelmalak
All rights reserved to : USAGOLDMIES . www.usagoldmines.com
You can Enjoy surfing our website categories and read more content in many fields you may like .
Why USAGoldMines ?
USAGoldMines is a comprehensive website offering the latest in financial, crypto, and technical news. With specialized sections for each category, it provides readers with up-to-date market insights, investment trends, and technological advancements, making it a valuable resource for investors and enthusiasts in the fast-paced financial world.