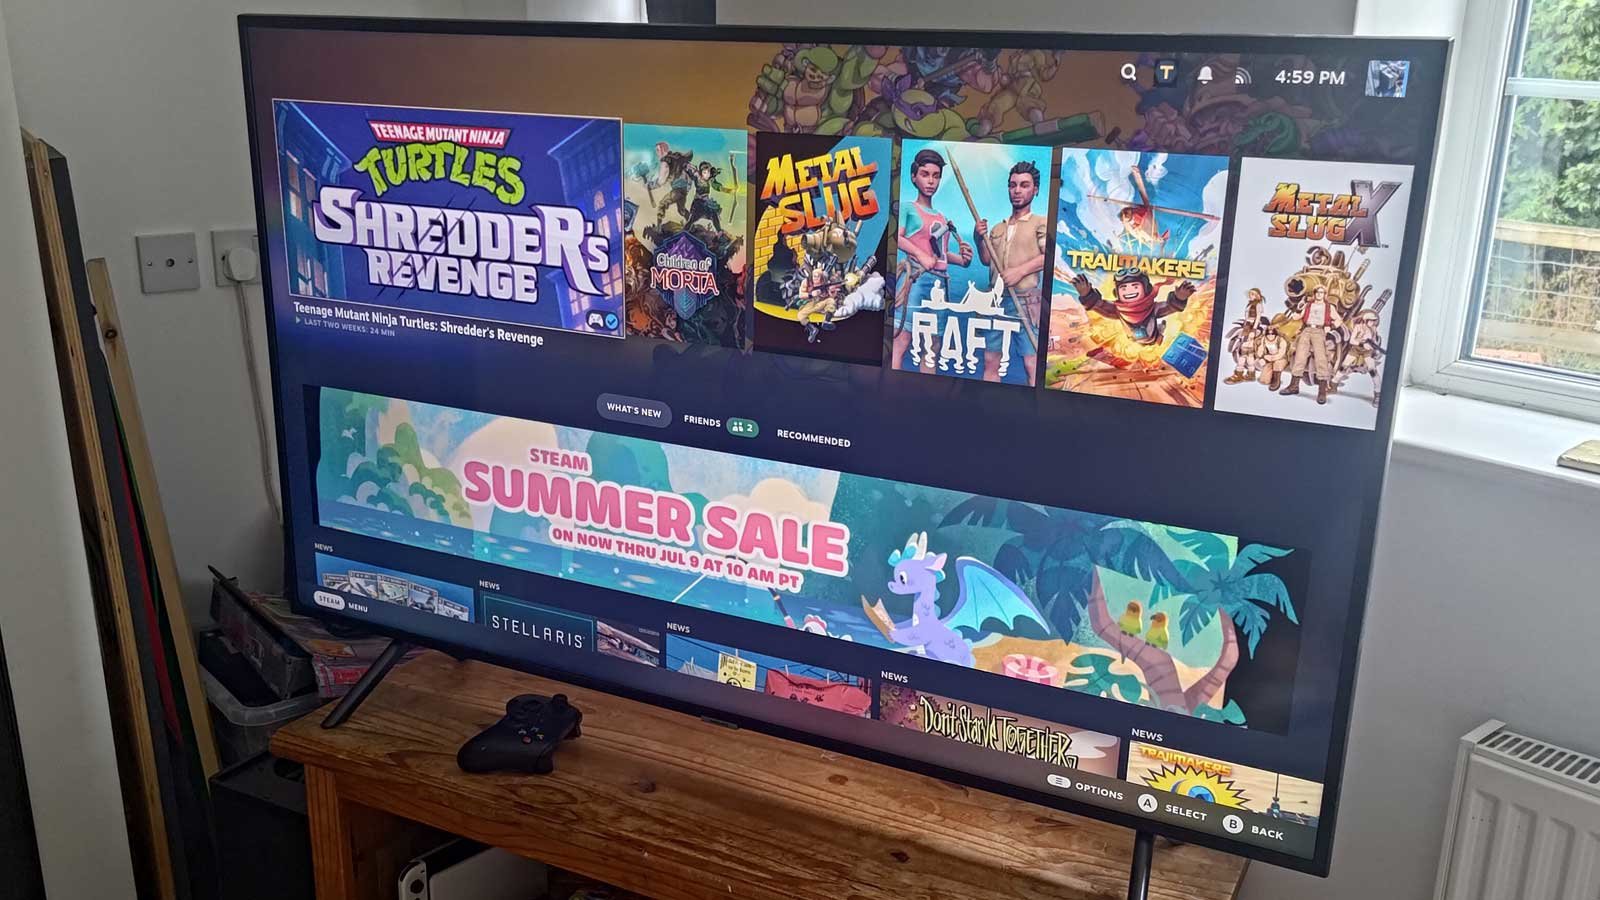
Did you want to buy a Steam Machine at launch? Tough luck. Although a lucky few did manage to get orders in before they inevitably sold out, the rest of us have to wait for the potential restock—and that’s if the price doesn’t end up rising further in the meantime. (Before you jump in, here’s what you need to know about the Steam Machine.)
Fortunately, there’s a surprisingly easy alternative route you can take right now: build a Steam Machine yourself. If it has a dedicated GPU and a CPU that’s within the last couple of generations, it’ll probably be faster than an official Steam Machine to boot. In theory, you don’t even need a whole extra system—a spare partition on your main PC will do.
With the latest updates to SteamOS and expanded support for AMD graphics cards, getting a SteamOS gaming PC up and running in 2026 is straightforward and doesn’t take too long.
To prove it, I built one myself. Here’s what it took to make it happen and how it fared after all was said and done.
What I had available
One of the perks of writing about and working with PCs and hardware is that I typically have a few bits lying around. In this case, I repurposed my old VR gaming PC, the one that steadfastly kept my HTC Vive Pro going even in 2024 but has since been boxed up and idle.
Why let that go to waste? I decided it would be a fine candidate for repurposing into a Steam Machine. Its hardware is ideal for the job:
- CPU: AMD Ryzen 7 3700X
- Motherboard: Asus ROG X670E Crosshair Hero mini-ITX
- Memory: 16GB Corsair Vengeance 3000 MT/s DDR4
- Storage: 512GB Samsung 980
- Graphics: PowerColor Red Devil RX 7900 XT 20GB
- PSU: Corsair SF850 SFX 850W
The CPU is older than the custom processor Valve uses in the real Steam Machine, with a lower boost clock at 500 MHz and only support for slower DDR4 memory. That means it lacks some of the more modern advances of the Steam Machine’s custom Zen 4 chip, but at least it packs two extra cores, support for four more threads, and double the cache. With its TDP being over 4x higher, I’ll be needing a more capable cooling solution than Valve’s smart heatsink and fan combo.
As far as memory, it has equivalent capacity at 16GB, but it’s DDR4 so it’ll be slower (even with the XMP/EXPO profile enabled).
The real kicker here is the GPU. The RX 7900 XT is still one of the fastest graphics cards AMD has ever made, beating out more modern counterparts like the RX 9700 (non-XT). It should be roughly 2.5x the performance of the graphics chip in the official Steam Machine, giving us much greater scope for reaching that 4K/60Hz threshold Valve originally targeted with its little box. My system also has boatloads of VRAM at 20GB—even more than modern cards like the RTX 5080 and RX 9070 XT—so it won’t run into VRAM bottlenecks anytime soon.
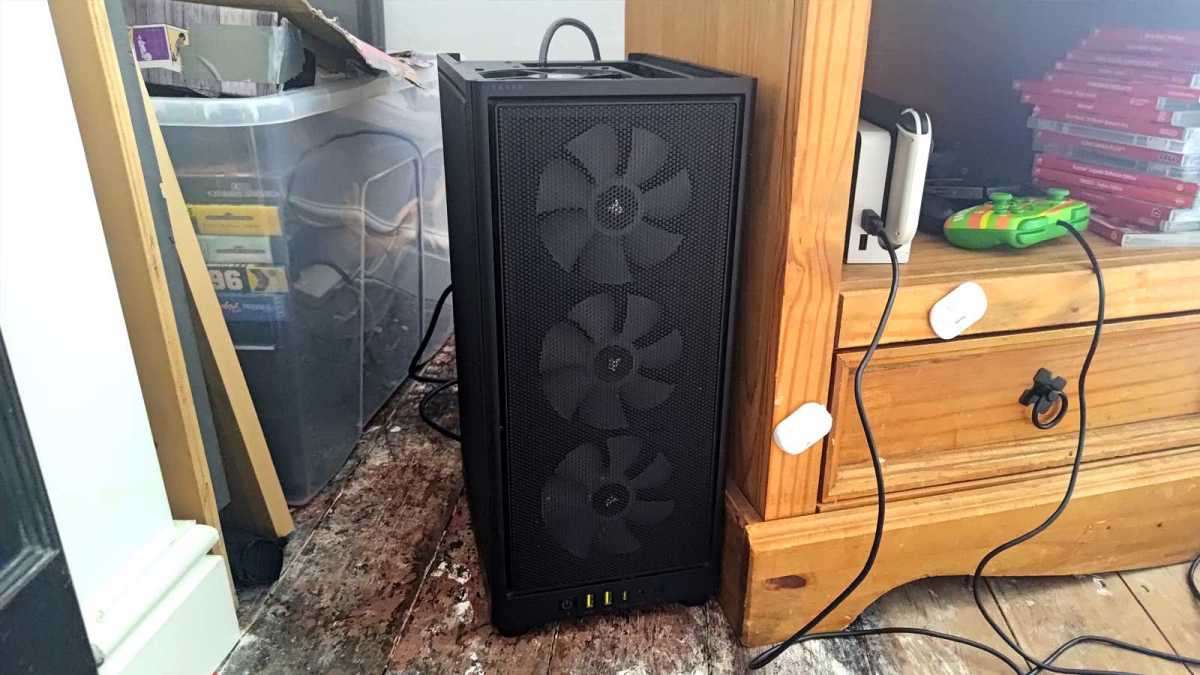
My plan was to build all this into a Corsair 2000D case that’s been gathering dust in the corner of my office for the past couple of years, and I’d keep the CPU chilled with a Cougar 240mm AIO that’s seen better days but seems to still work well enough.
All that said, this is massively overpowered for what a DIY Steam Machine needs to be. Any quad-core-or-better CPU from the past five years should suffice, and you can probably get away with 8GB of RAM if that’s all you have. You don’t need much for the GPU, either. Remember, Valve is working with a mobile RX 7600 equivalent, so to get decent 1080p performance with SteamOS, you can get by with almost any GPU from the past few generations to be competitive. (For ideas, see my colleague’s DIY Steam Machine build for $150 less than MSRP.)
Installing SteamOS was the easy part
If there’s one good thing that’s come out of Valve’s on-again-off-again decade-plus of Steam Machine efforts, it’s that SteamOS (and Linux gaming in general) is becoming far more competitive with Windows on mainstream gaming devices. It’s not only faster than Windows in some handheld gaming scenarios, but Valve has made SteamOS more widely available and easier to install than ever.
Jon Martindale / Foundry
If, like me, you’ve bounced off a Bazzite install in the past and never quite finished making your own console gaming PC, now is the time to have another go. Valve has simple instructions for installing SteamOS and walks you through, step by step. Here’s what I did:
First, I downloaded the SteamOS Deck Image.
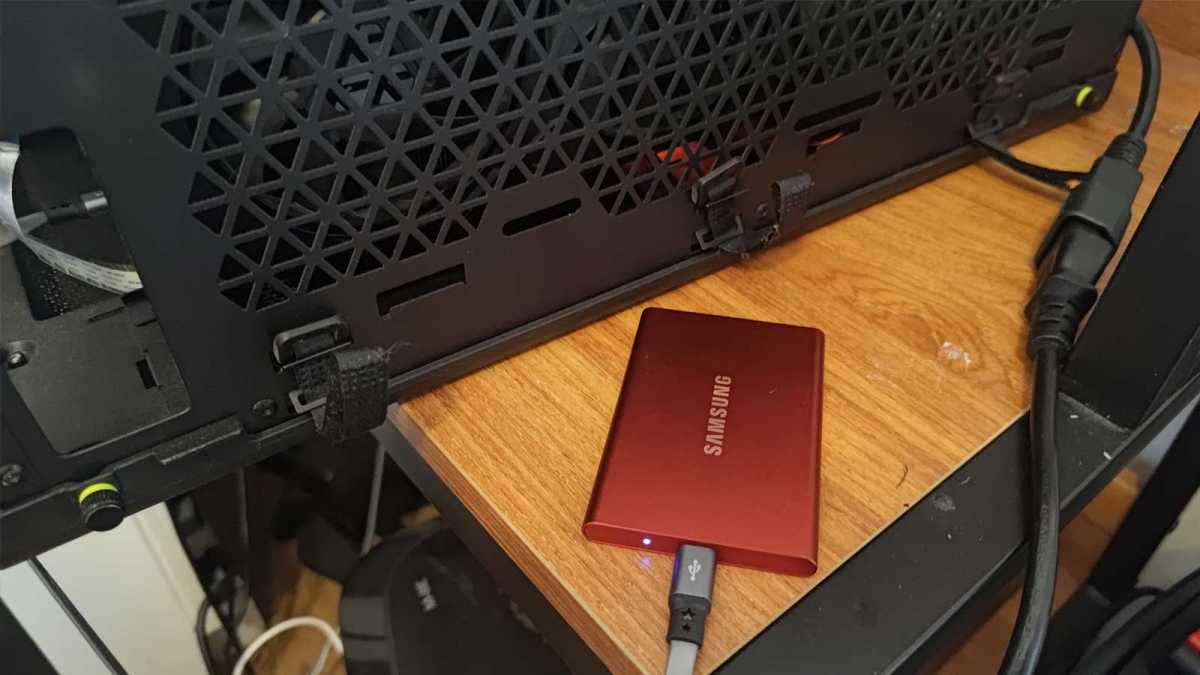
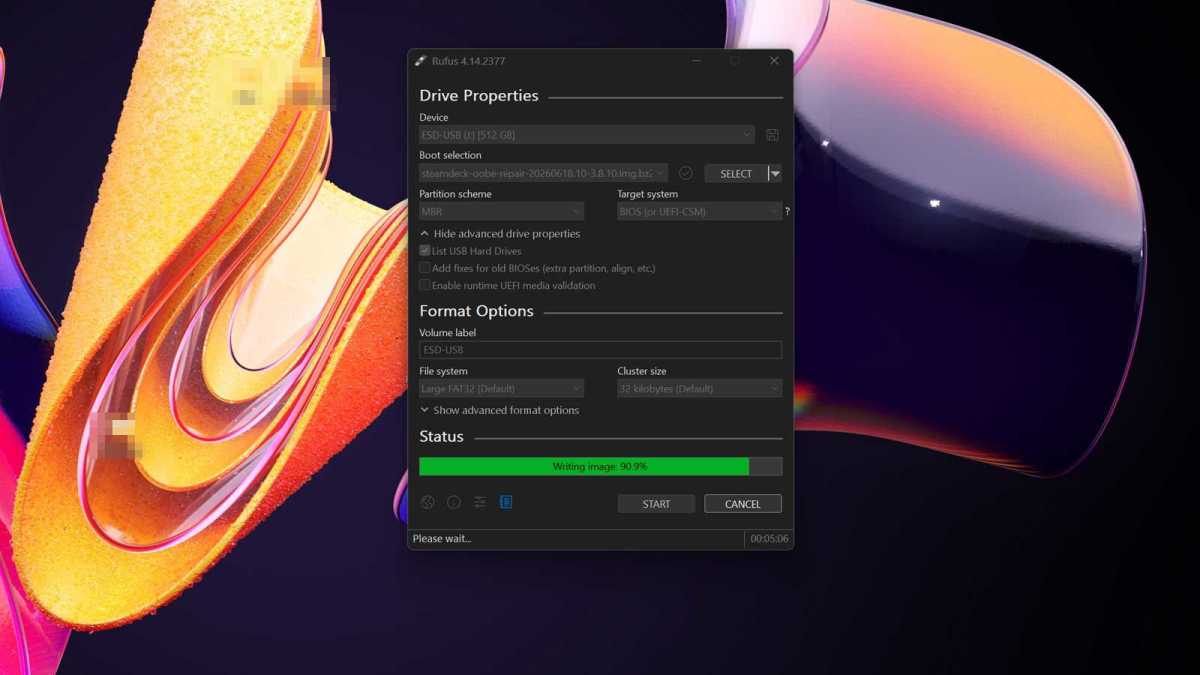
Then, I grabbed a spare drive. You should probably use a flash drive, but I had a Samsung T7 portable SSD that I didn’t mind using. I downloaded Rufus on it and turned it into a bootable drive with the SteamOS image. Beware, this will wipe everything on the drive!
Jon Martindale / Foundry
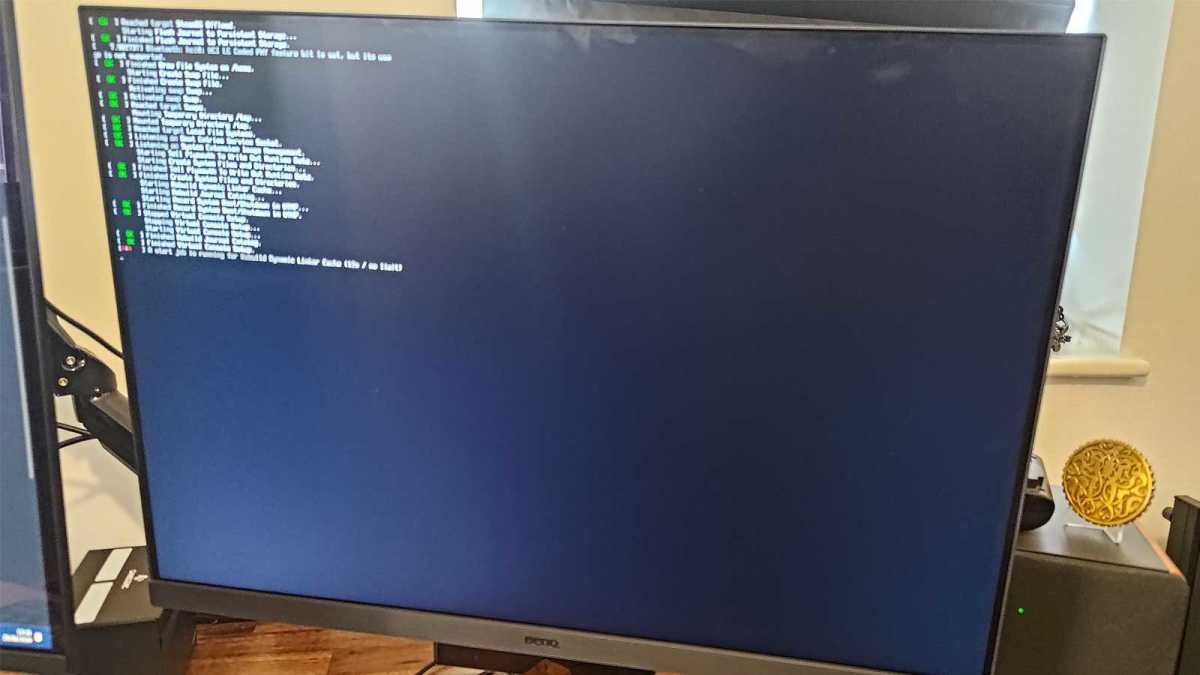
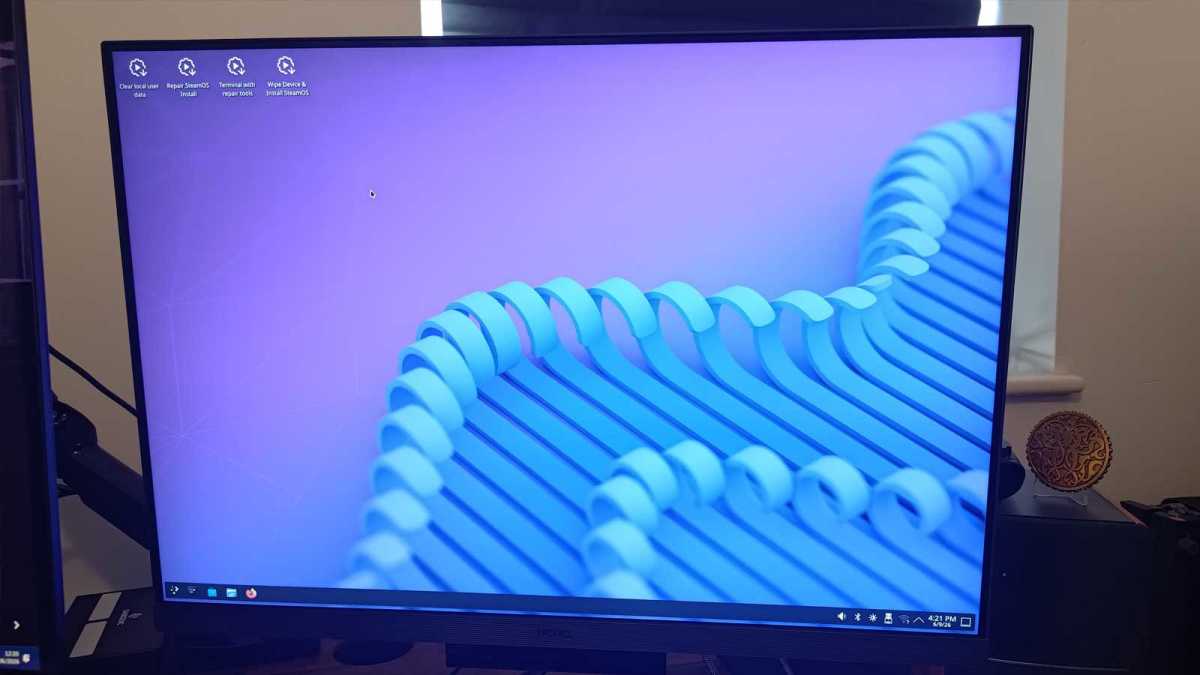
I plugged the bootable drive into my DIY Steam Machine and booted it, bringing me into a Linux desktop environment. I saw several desktop icons in the top-left, and double-clicked the one titled “Wipe Device & Install SteamOS.”
Jon Martindale / Foundry
Then, my device rebooted and installed SteamOS. I just left it to do its thing and before I knew it, it was ready—booted into SteamOS in game mode, good to go and ready to roll.
Jon Martindale / Foundry
At this point, I just needed to log into Steam and start installing my own games. It’s all very straightforward—no overt complexity with drivers or additional application requirements.
DIY PCs are tricky regardless of OS
One of my favorite things about this build is that the majority of problems I ran into were just classic PC building issues—the kind I’m experienced enough to tackle. I was expecting SteamOS itself to be a pain in the ass to get going, but it really wasn’t.
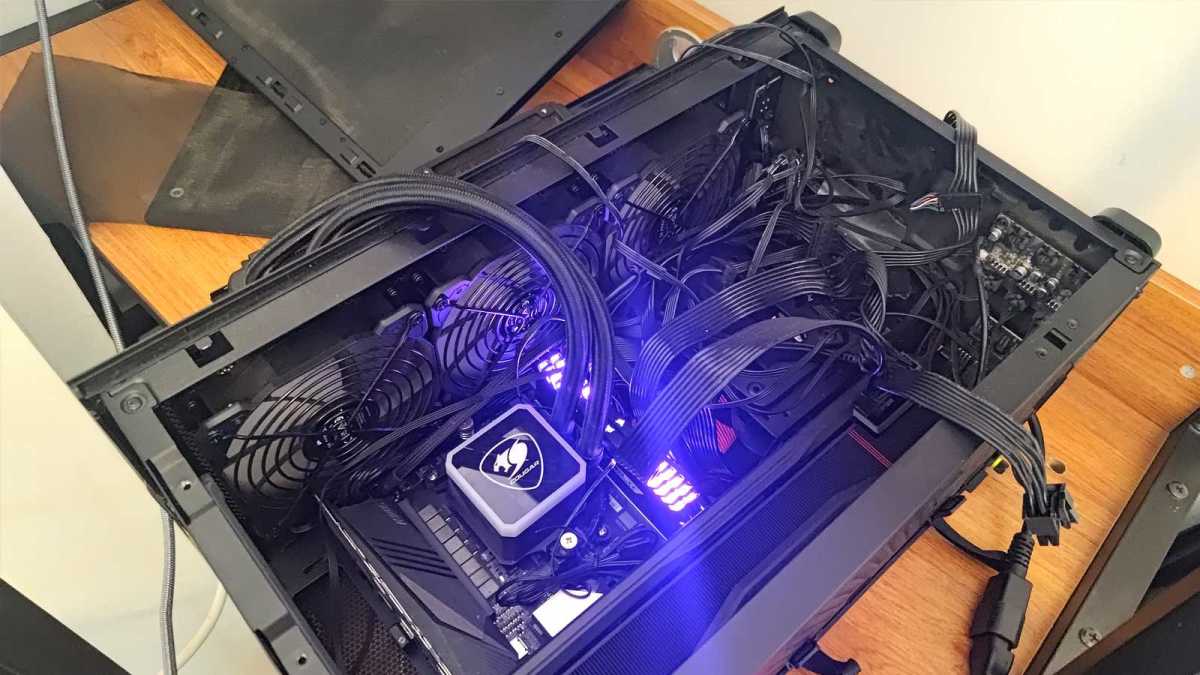
The biggest pain was a weird shorting issue I had when putting the Corsair 2000D’s AIO radiator mount back into the side panel. For some reason—which I never actually figured out—it would short out when I put it back in place and the system would be entirely unbootable.
Jon Martindale / Foundry
I also had some trouble formatting my Samsung T7 portable SSD in Windows, discovered the RX 7900 XT had a faulty DisplayPort connection, and nicked my hands a few times building so much hardware into such a tight chassis. I might’ve installed a few fans the wrong way too, necessitating removal of half the system before rebuilding it.
All annoying, but all very manageable with past experience. These are all the same kinds of issues I’d have faced if I was building a new Windows gaming PC. Surprisingly, I didn’t run into any driver issues, nor did I encounter any games that flat-out didn’t work with SteamOS.
Not a real Steam Machine, but still great
Even though I didn’t have major issues installing SteamOS, it’s not quite as straightforward as the Windows environment I’m so familiar with. Installing a custom fan speed monitor and curve manager using Desktop Mode required jumping through a few more hoops than simply downloading and running Fan Control on Windows.
I also ran into a weird issue where some games would take upwards of 30 seconds to load. It turned out to be a quirk of the SteamOS audio system that was easy enough to fix with Reddit thread guidance.
Jon Martindale / Foundry
That said, I’d be remiss if I didn’t mention the things that an official Steam Machine can do that my DIY build can’t.
It doesn’t support Wake on Controller. It has no built-in HDMI-CEC, so it can’t wake or power down the TV. My Xbox controllers don’t have Steam Controller touchpads for mouse-and-keyboard games. And there’s no denying that my solution is louder and much hotter.
The real Steam Machine’s whole TDP is around 150W. By comparison, my RX 7900 XT alone has a TDP of 300W, putting my entire DIY system closer to 400W once all components are considered. That means the fans run louder and it’ll cost me more in electricity. But it can do 4K/60FPS, especially when upscaling is available.
Jon Martindale / Foundry
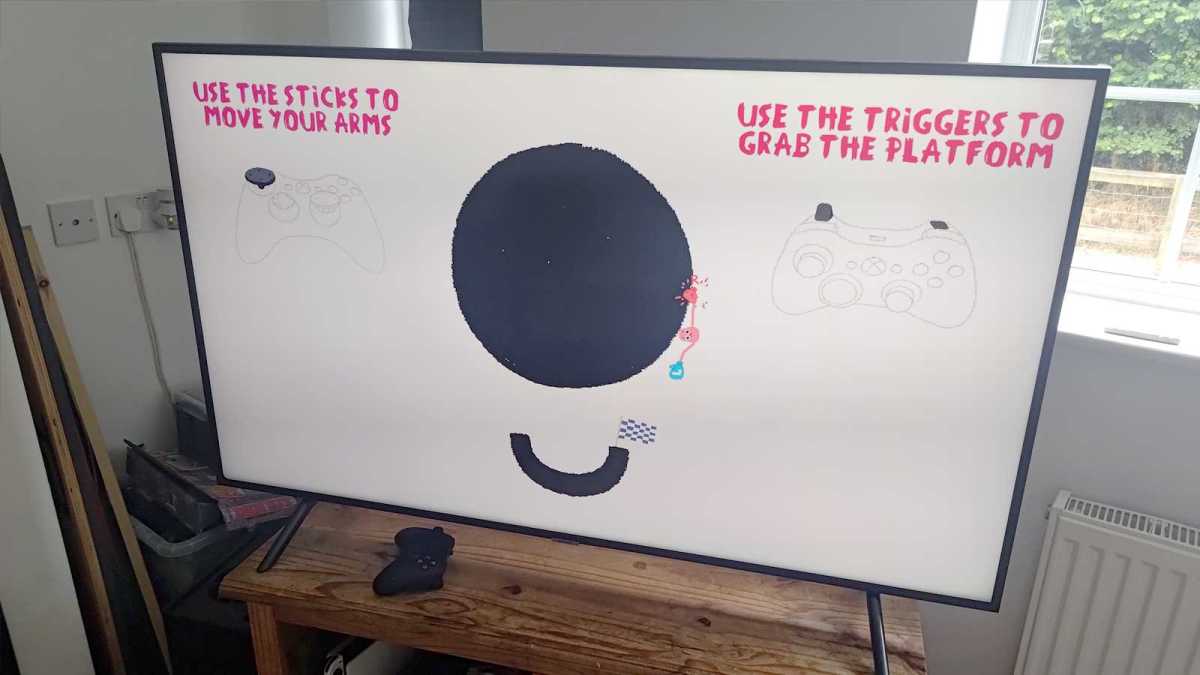
And it plays everything really well. I’ve thoroughly enjoyed several couch gaming sessions with my wife playing TMNT: Shredder’s Revenge and Children of Morta. My DIY Steam Machine is great for playing some of my favorite relaxing games, like Kingdom: Two Crowns and Stardew Valley. I might see if I can get a simple touchpad keyboard working so I can use it for the odd Tabletop Simulator session as well.
Am I going to replace my main PC with this SteamOS build? Not yet. But it was a fun project and one that felt surprisingly easy, all thanks to SteamOS and the amount of effort Valve put into getting it this far. The Steam Machine’s lasting legacy won’t be the hardware itself but the console-like experience it brought to PC gaming—something Microsoft needs to emulate with Windows ASAP.
Further reading: I turned my Steam Deck into a Steam Machine
This articles is written by : Nermeen Nabil Khear Abdelmalak
All rights reserved to : USAGOLDMIES . www.usagoldmines.com
You can Enjoy surfing our website categories and read more content in many fields you may like .
Why USAGoldMines ?
USAGoldMines is a comprehensive website offering the latest in financial, crypto, and technical news. With specialized sections for each category, it provides readers with up-to-date market insights, investment trends, and technological advancements, making it a valuable resource for investors and enthusiasts in the fast-paced financial world.