We may earn a commission from links on this page.
Apple’s AirPods Pro are among the best wireless earbuds you can buy, especially if you’re already entrenched in the Apple ecosystem. Like many Apple products, AirPods Pro are pretty simple to set up and use. However, there are also plenty of settings you should be using (and changing) from the default.
Because many of the features are found in the same settings page, here’s some advice: When I refer to AirPods Pro settings, I’m talking about those found in Settings > [Your AirPods] (iOS). You can also find these options in Settings > Bluetooth (iOS), or System Settings > Bluetooth (macOS), then by tapping the (i) (iOS) or Options (macOS) next to your AirPods Pro in the list.
Note that your AirPods Pro need to be connected to your device to access these settings.
Disable device auto-switching
If you have multiple Apple devices, you might notice something interesting when using AirPods Pro: When you play media on a device not connected to your AirPods Pro, they’ll automatically connect to that device. This feature is great in theory, but can be a real pain if you need to use multiple devices at once. Tapping a video on your iPhone will move your AirPods Pro from your Mac to the phone, even if you don’t want it to happen.
While you can simply select the notification that appears on the original device to return the connection, there’s a way to disable this feature if it isn’t right for you. In your AirPods Pro settings, head to Connect to This iPhone or Connect to This Mac. Now, choose When Last Connected to This iPhone or When Last Connected to This Mac and your AirPods Pro won’t automatically switch to that iPhone.
If you ever find that you miss being able to automatically switch the audio output as you move between devices, you can always return to this settings page and choose Automatically instead. If you’re only using one audio source at a time, this feature can be quite convenient. But if you’re listening to music on one devices—say, your iPhone—it is a pain to have it stop if you click on, say, a YouTube video on your Mac.
Quickly switch between devices with a tap
Here’s the method for switching between devices that I prefer: When you want to move your AirPods Pro to another one of your devices, head to Control Center, press the AirPlay button in the top-right corner of the Now Playing window (Sound window on Mac), then choose your AirPods Pro from the list. Give the earbuds a moment to connect (these days, it’s pretty darn quick), and you’re all set.
Enable AirPods sharing
One really cool iOS feature that works with compatible headphones is the ability to share audio to two different sources at once. That means you can listen through your AirPods Pro while your friend listens through their AirPods or Beats.
To get set up, head back to the AirPlay button in your Control Center’s Now Playing window. Tap Share Audio. If pairing AirPods or AirPods Pro, hold them close to your device with the AirPods inside the case and open the lid. If pairing AirPods Max, hold them close to your device. If pairing Beats wireless headphones, put them in pairing mode and hold them close to your device.
Customize stem controls
Apple packed quite a few controls into the stems on AirPods Pro. You can long-press them to switch between Noise Control settings (Noise Cancellation, Transparency Mode, Adaptive Audio (AirPods Pro 2) and Off), but you can also use quick presses to control other areas:
-
One press to play or pause.
-
One press to answer or hang up a call.
-
Double-press to skip forward.
-
Triple-press to skip back.
Adjust the volume directly from the stem (AirPods Pro 2)
If you have a pair of second-generation AirPods Pro, you can also adjust the volume of the audio from the stem. Just place your thumb on the stem, then use your index finger to drag up or down on the touch control to increase or decrease the volume accordingly.
Use Adaptive Audio (AirPods Pro 2)
Transparency Mode is a great feature that pumps in the ambient sound around you, so you can either keep up with a conversation or be aware of traffic. AirPods Pro 2 improve upon Transparency Mode with something called “Adaptive Audio” (previously Adaptive Transparency) which block out sounds that reach 85dB or higher in real time. You can even wear second-gen AirPods Pro to concerts because of how well this feature works: You’ll be able to hear everything below 85dB as-is, and any noise louder than that comes through comfortably, like dynamic, high-tech earplugs.
You can enable Adaptive Audio from Control Center: Long-press the volume slider, then long-press Noise Control and choose Adaptive. From here, you can customize the amount of sound that your AirPods let in with this setting enabled. Head to Settings > Bluetooth, then tap More Info next to your AirPods. Tap Adaptive Audio, then adjust the slider to your preference.
Set up Conversation Awareness (AirPods Pro 2)
Another AirPods Pro 2-exclusive is Conversation Awareness. With this feature, your AirPods can detect when you start talking to someone, and will lower the volume of audio playback and turn on Transparency Mode. If you’re listening to spoken media, like a podcast, your AirPods will pause playback after a few seconds. To turn this feature on or off, head to your AirPods settings and enable Conversation Awareness. You’ll also find this option by long-pressing the volume slider in Control Center.
Choose Personalized Volume (AirPods Pro 2)
In this same settings page, you’ll also find Personalized Volume. When enabled, iOS uses machine learning to understand your listening habits, and adjusts the volume of your AirPods automatically.
Quickly switch between noise control modes from Control Center
Instead of using your AirPods Pro stem to switch between Noise Control modes, you can do the same from Control Center. Just long-press or click on the volume slider, then tap the “Noise Control” option in the bottom left. Here, you’ll find your three Noise Control options, “Noise Cancellation,” “Off,” and “Transparency.”
Customize your stem controls
By default, pressing the stem on your AirPods cycles between the Noise Control modes (well, all but “Off,” but more on that in a second). You can actually customize these settings. You’ll find the options under Press And Hold AirPods in your AirPods Pro settings. You can choose “Left” or “Right,” depending on which AirPod you want to customize.
At the top, you’ll find the option to have a stem press activate Noise Control, or Siri. If you choose Noise Control, you can opt into any and all of the three options listed. This is a great opportunity to add “Off” to your list, since Apple doesn’t include it by default. I enjoy using that setting when I can to save battery life.
Turn on Spatial Audio
Spatial Audio is a three-dimensional audio experience that follows the movement of your iPhone. (You can also choose to keep Spatial Audio fixed in place.) Enabling it is easy: Just open Control Center, long-press on the volume slider, then make sure that Spatial Audio.
Personalize your Spatial Audio experience
Spatial Audio doesn’t have to be the same for everyone. In fact, you can use your iPhone to take a scan of your ear and head shape in order to personalize your Spatial Audio experience. Your iPhone uses this scan to create a Spatial Audio profile for you, which syncs across your Apple devices. That way, Spatial Audio will render the sound the same when listening on your iPhone, iPad, and Mac.
To get started, head to your AirPods Pro settings, choose Personalized Spatial Audio, then hit Personalized Spatial Audio once more to walk through setup.
Check your case’s wireless charging light indicator
All AirPods Pro come with a wireless charging case. As such, they all have this neat trick: With your case on the wireless charger, tap the top of the case to bring up the charging indicator. Orange indicates that your AirPods Pro are still charging, while green means you’re good to go.
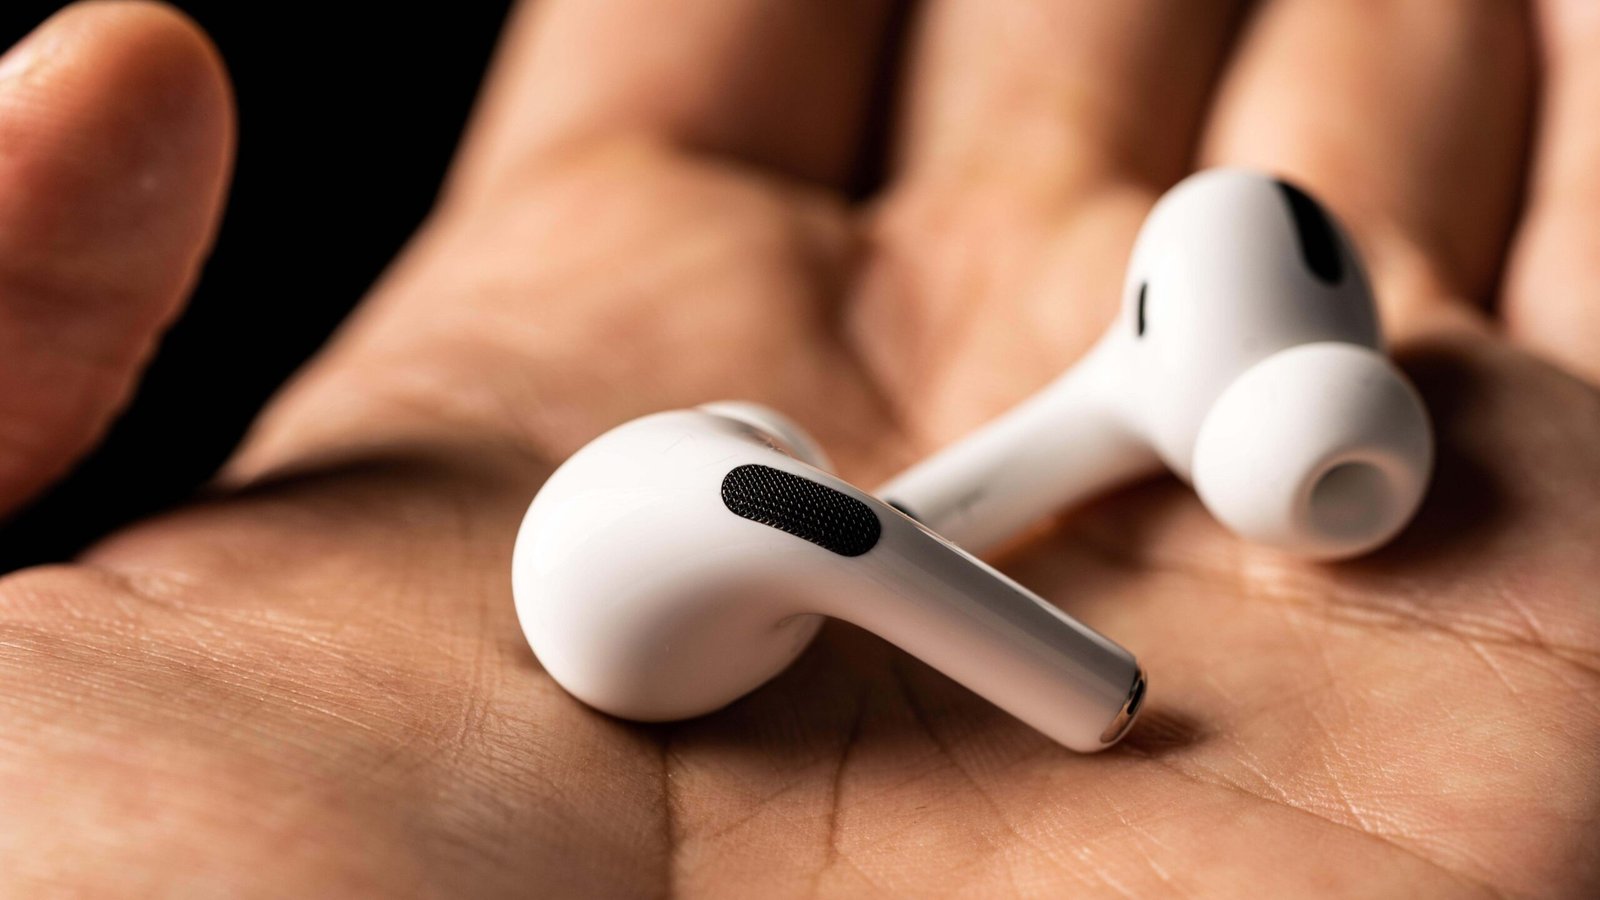
Find the perfect fit

Credit: Jake Peterson
Another difference between AirPods and AirPods Pro concerns the varying sizing options. Unlike the one-size-fits-all approach of AirPods, the Pro models give you three or four different sized tips to use. If you don’t want to pick a size yourself, your iPhone has you covered.
Head back to your AirPods Pro settings on iOS, then tap Ear Tip Fit Test. Tap Continue, make sure your AirPods Pro are tight in your ears, then tap the play button to get started. Your iPhone will begin playing music, testing the seal created by your AirPods. If the test finds all is good, you’ll see “Good Seal” underneath your AirPods. If not, you might see “Adjust or Try a Different Ear Tip.” It’s possible you’ll need a different size for each AirPod.
Rename your AirPods Pro
“Jake’s AirPods Pro” is fine, but what if I wanted to call these earbuds something a little more fun? If you feel the same, head to Name in your AirPods Pro settings, then type whatever name you’d like into the text field. On macOS, right-click on your AirPods Pro from the Bluetooth list and choose “Rename.”
You can ping your misplaced AirPods Pro
If you ever lose your AirPods Pro, don’t panic. If they’re within range of a connected Apple device, you can have them make a chirping sound letting you know where they are.
To start, open Find My, then tap the Devices tab. Locate and tap on your AirPods Pro, then tap “Play Sound.” If they’re within range, iOS will let you know your AirPods are playing a sound. It actually gets quite loud, so you might want to double-check that nobody is wearing them first.
See exactly where your second-gen AirPods Pro are
While you can ping your AirPods to find them fast, you might not even need to with AirPods Pro 2. The newest Pros support precise location, which means you can see exactly where both earbuds and the charging case are through the Find My app. Just tap Devices, then the name of your AirPods, then Find.
The music doesn’t have to stop when you remove an AirPod Pro
At this point, it’s a bit of an AirPod staple to have your music stop when you take out one of the earbuds. While certainly useful, some of us would prefer to disable this feature, especially if you frequently trigger it when adjusting your AirPods’s position. Plus, you can pause music on AirPods Pro with a quick press of the stem, so it’s not quite as essential a feature as it is on standard AirPods.
To disable the feature, just tap the toggle next to Automatic Ear Detection in your AirPods Pro settings.
Choose which AirPod Pro you want to be the mic
Both of your AirPods have microphones in them, but only one of them is ever active at once. By default, the system switches between mics automatically, but you can choose to have one microphone always active. This is particularly useful in cases when one of your AirPods’ mics is broken.
To choose, head to Microphone in your AirPods Pro settings, then tap Always Left AirPod or Always Right AirPod.
Keep your AirPods Pro above 80% when charging
AirPods Pro have what’s called Optimized Battery Charging. This basically means your AirPods Pro charge up to 80%, then hold the charge there until it thinks you’ll need them fully charged. It’s a great feature in theory, because it cuts down on battery degradation, but it does mean that sometimes your AirPods Pro are only charged to 80% when you go to use them.
To disable this feature, head to your AirPods Pro settings on iPhone, then tap the toggle next to Optimized Battery Charging. You’ll have the option to Turn Off Until Tomorrow, if you only want to disable the feature temporarily, or Turn Off to shut the feature down for good. You can read more about this feature and why it can be really helpful here.
Enable noise cancellation when using one AirPod Pro
You don’t need to be wearing both AirPods to enjoy noise cancellation. To unlock noise cancellation when only wearing one AirPod, head to Settings > Accessibility > AirPods on your iPhone, then tap the toggle next to Noise Cancellation With One AirPod.
Announce Notifications and Calls with Siri
Whenever you receive a new message with Announce Notifications with Siri, the digital assistant will politely interrupt whatever you happen to be doing when listening to AirPods in order to read incoming texts. It’s a great feature, but it’s not for everyone. Here’s how to manage it.
On iOS, head to Settings > Apple Intelligence & Siri > Announce Notifications. To disable the feature entirely, tap the toggle next to Announce Notifications. You can also tap the toggle next to any app in the list to disable the feature for that app only. Some apps may let you choose between announcing all notifications as well as just “time-sensitive” alerts.
There’s also Reply Without Confirmation. Disabled by default, this setting lets Siri send your responses without reading it back to you first. It can be convenient, but also dangerous. You won’t know if the assistant misheard you before sending off your reply.
You can do the same for calls: Head to Settings > Siri > Announce Calls, then choose either Always, Headphones & Car, Headphones Only, and Never.
If you do keep this setting on, and you have a pair of second-gen AirPods Pro, you can address these requests silently by nodding or shaking your head. If Siri announces you have an incoming call, you can nod to accept the call. If the assistant says you have a notification, you can dismiss it by shaking your head.
Tune your audio to your liking
While AirPods Pro sound great by default, you might be someone who enjoys fine-tuning their audio experience. Apple lets you do that on your iPhone in Settings > Accessibility > Audio & Visual > Headphone Accommodations. Here, you can tune your audio for Balanced Tone, Vocal Range, or Brightness, and have soft sounds boosted slightly, moderately, or strongly. Apple lets you change these settings around and tap “Play Sample” to hear the differences.
You’ll find an even more custom experience by tapping Custom Audio Setup. Apple will walk you through customization for phone calls, movies, music, and Transparency Mode. By the end, you’ll have a totally unique sound experience with your AirPods Pro.
Enable Conversation Boost
Conversation Boost is a great feature tucked away in these Headphone Accommodations settings. When enabled, your AirPods focus on the person in front of you while reducing other noises, making conversations easier to hear in noisy environments. You can learn more about Conversation Boost from our guide here.
Use Voice Isolation
Voice Isolation is a fantastic and underused Apple feature for phone and video calls. With it enabled, your Apple device focuses on your voice during calls, and blocks out extraneous sounds in your area. You might still be able to hear your dog barking while on a call, but, hopefully your coworkers won’t be able to. Wide Spectrum is another option here, which brings in more sounds from your surroundings into a call. That might be useful if you really need everyone to hear what’s happening on your end of the line—but, personally, I almost always use Voice Isolation instead.
This feature used to work only when using the microphone on your iPhone, iPad, or Mac, but as of iOS 18, it works with AirPods Pro 2 as well. The next time you’re on a call while using AirPods Pro, pull up Control Center, then tap the “Controls” option at the top of the screen. Here, switch to Voice Isolation.
Enable Live Listen
Live Listen turns your iPhone into a microphone that can help you hear your surroundings better through your AirPods. To enable the feature, head to Control Center on your iPhone, tap the (+), then search for “Live Listen.” Add this setting tile to your Control Center, then return to Control Center and tap it. When you do, your AirPods will pump in all the sounds your iPhone mic can pick up. You can also fine-tune your Transparency Mode settings here, if you tweaked it in Custom Audio Setup.
Control your AirPods Pro modes with your Apple Watch
If your AirPods Pro are connected to your Apple Watch, you can switch between Noise Control modes from there. Pull up Control Center on your watch, then tap the AirPlay button.
Unpair your AirPods if they’re acting up
If your AirPods Pro just aren’t acting right, sometimes the best thing to do is to simply unpair them. You can do this easily on iPhone by heading to your AirPods Pro settings, then by tapping “Forget This Device.” Tap “Forget This Device” once more on the pop-up, and your AirPods will be removed from your device’s memory. You can do the same on Mac by right-clicking your AirPods from the list and selecting “Remove.”
Now, you can just hold the case open by your iPhone as you did when you first got your AirPods Pro to re-pair them.
This articles is written by : Nermeen Nabil Khear Abdelmalak
All rights reserved to : USAGOLDMIES . www.usagoldmines.com
You can Enjoy surfing our website categories and read more content in many fields you may like .
Why USAGoldMines ?
USAGoldMines is a comprehensive website offering the latest in financial, crypto, and technical news. With specialized sections for each category, it provides readers with up-to-date market insights, investment trends, and technological advancements, making it a valuable resource for investors and enthusiasts in the fast-paced financial world.