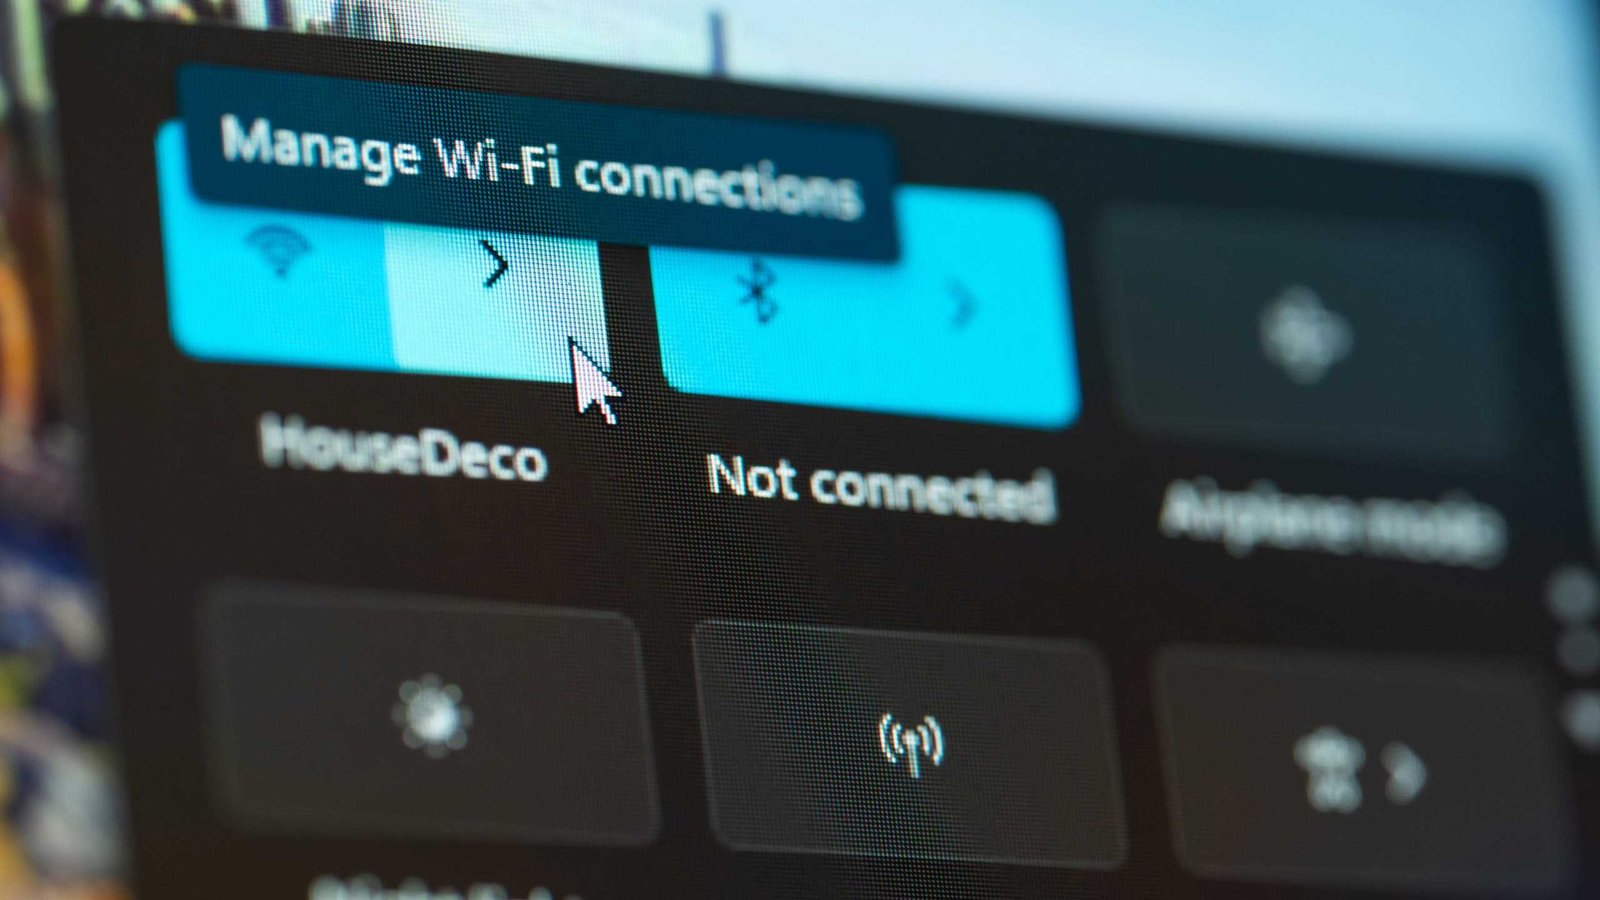
The first time you connect to a network on a Windows PC, the operating system will create a network profile and assign it a name. For Ethernet networks, Windows uses names like Network 1, Network 2, and so on. For Wi-Fi networks, it uses the SSID as the profile name.
If you have several network profiles on your computer, it’s a good idea to give them more descriptive names (makes it easier to identify them). You can change the standard names assigned by Windows, although this hasn’t exactly been a straightforward process since Windows 8.x.
There’s no dedicated option for changing network profile names in either Windows Settings or the Control Panel. However, there are two ways to do it directly in Windows. We’ll also show you a free tool that makes the process even easier.
Foundry
Change the network name using the Registry Editor
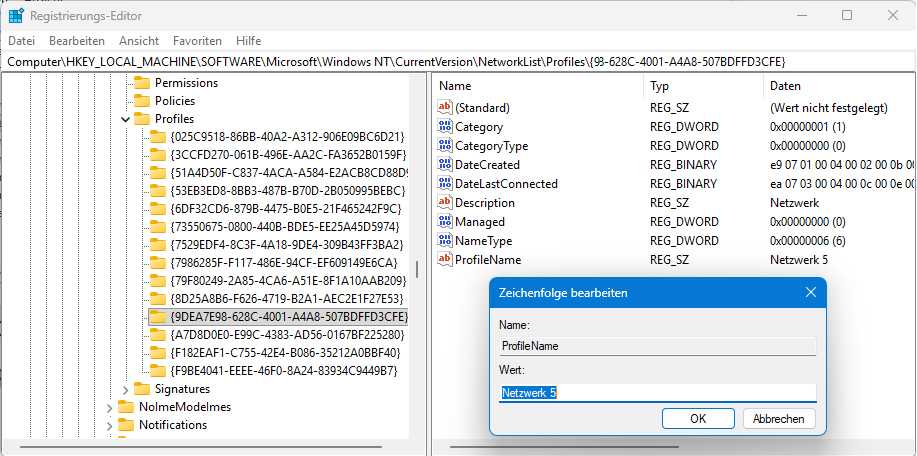
Click the search box on the taskbar, type regedit, and click Registry Editor. Then navigate to:
HKEY_LOCAL_MACHINESOFTWAREMicrosoftWindowsNTCurrentVersionNetworkListProfiles
Here, you’ll see a list of subfolders with names made up of two curly brackets and cryptic strings of letters and numbers. Each subfolder represents a current or former network profile. Windows keeps a record of every network profile that has been created on the computer.
Click each profile. In the right-hand pane of the Registry Editor, you’ll see information about the selected profile. At the bottom, look for ProfileName.
Look for the network profile you want to rename and double-click ProfileName. In the window that appears, enter the new name, click OK, and restart Windows.
Foundry
Changing the network name using Local Security Policy
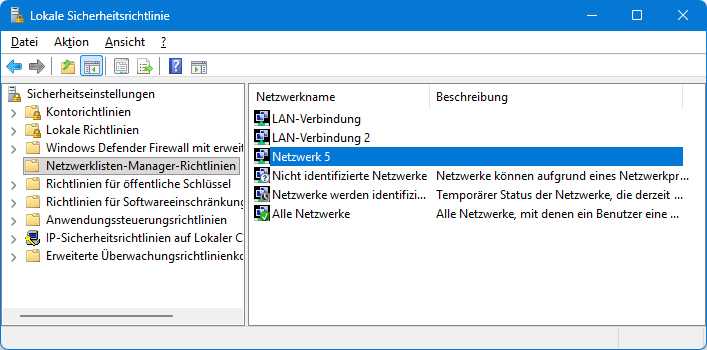
This option is only available in the Professional, Enterprise, and Education editions of Windows. Press the Windows-R key combination to open the Run window, enter the filename secpol.msc, and press Enter. This will open the Local Security Policy window.
In the left pane, select Network List Manager Policies. The network profiles will show up in the right pane. Now double-click the profile you want to rename and, in the Properties window that opens, click Name on the Network Name tab. Enter the desired profile name in the text box, click OK, and restart.
Foundry
Change network names with Network Profile Name Changer
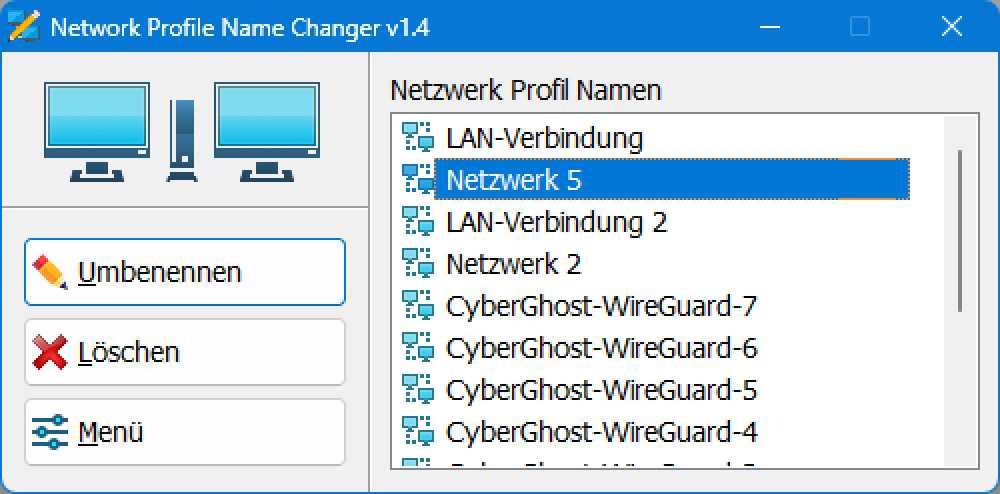
The easiest way to change a profile name is with the free Network Profile Name Changer utility. Download the ZIP file and extract it to any folder. No installation is required for this program. Next, launch the tool by double-clicking the file Net Pnc.exe.
You might see a Windows security warning that says, “The computer has been protected by Windows.” Click More Information, then click Run Anyway.
The Network Profile Name Changer displays all the network profiles in the registry. Select the current profile and click Rename.
The Menu button gives you access to a number of network-related Windows settings, including the Network and Sharing Center and the Network & Internet section of Windows Settings.
This articles is written by : Nermeen Nabil Khear Abdelmalak
All rights reserved to : USAGOLDMIES . www.usagoldmines.com
You can Enjoy surfing our website categories and read more content in many fields you may like .
Why USAGoldMines ?
USAGoldMines is a comprehensive website offering the latest in financial, crypto, and technical news. With specialized sections for each category, it provides readers with up-to-date market insights, investment trends, and technological advancements, making it a valuable resource for investors and enthusiasts in the fast-paced financial world.